Too many hard drives
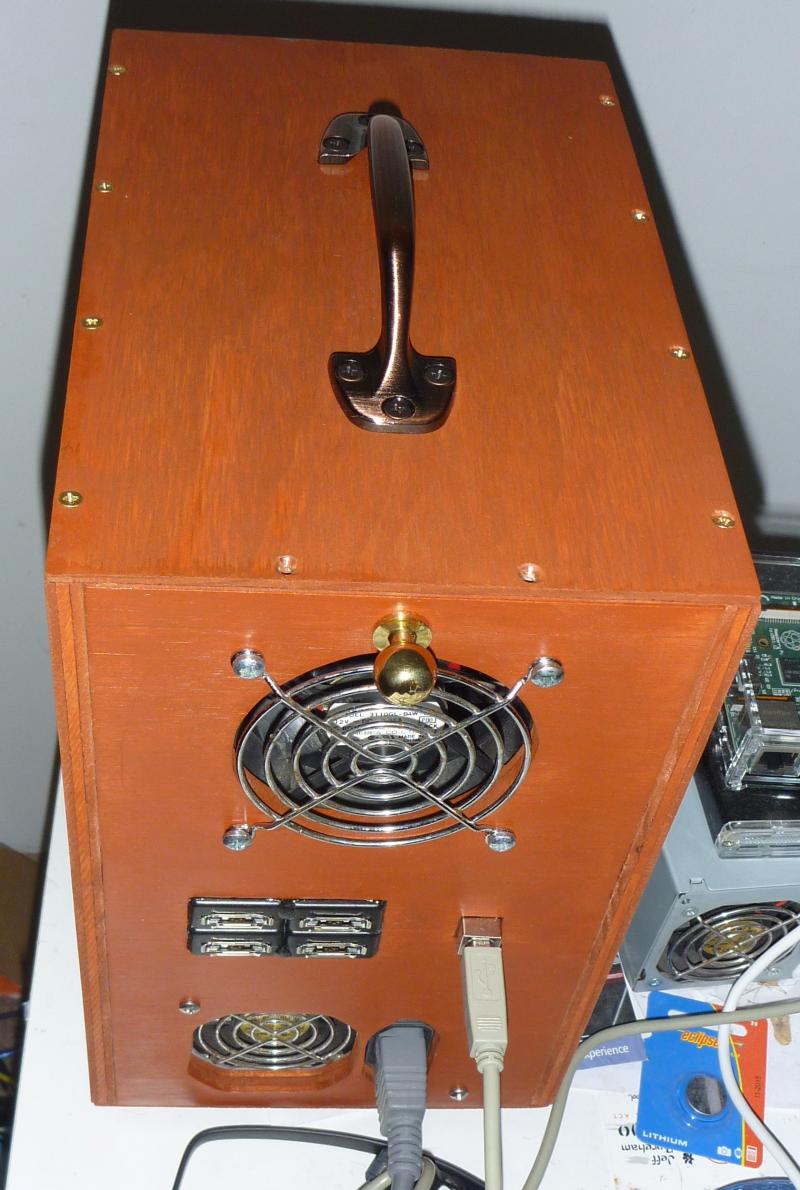
The finished product complete with voltage monitors on the front.
What does one do when one runs out of hard drive space? Some people might purchase a NAS, but I saw this as an opportunity for a project that I could work on at our local men's shed, while also building something I needed: A wooden unit to house some external hard drives that will be attached to my server via eSATA and/or USB.
Everyone at my local Men's shed were extremely helpful and always ready to offer advise, with a small number of people simply exuberant to see me doing something which didn't (directly) involve my laptop.
A wonderfully helpful man by the name of Alan, helped walk me through a lot of the process for which I really had no prior knowledge in, and it is he who you will notice in many of the below photographs below.
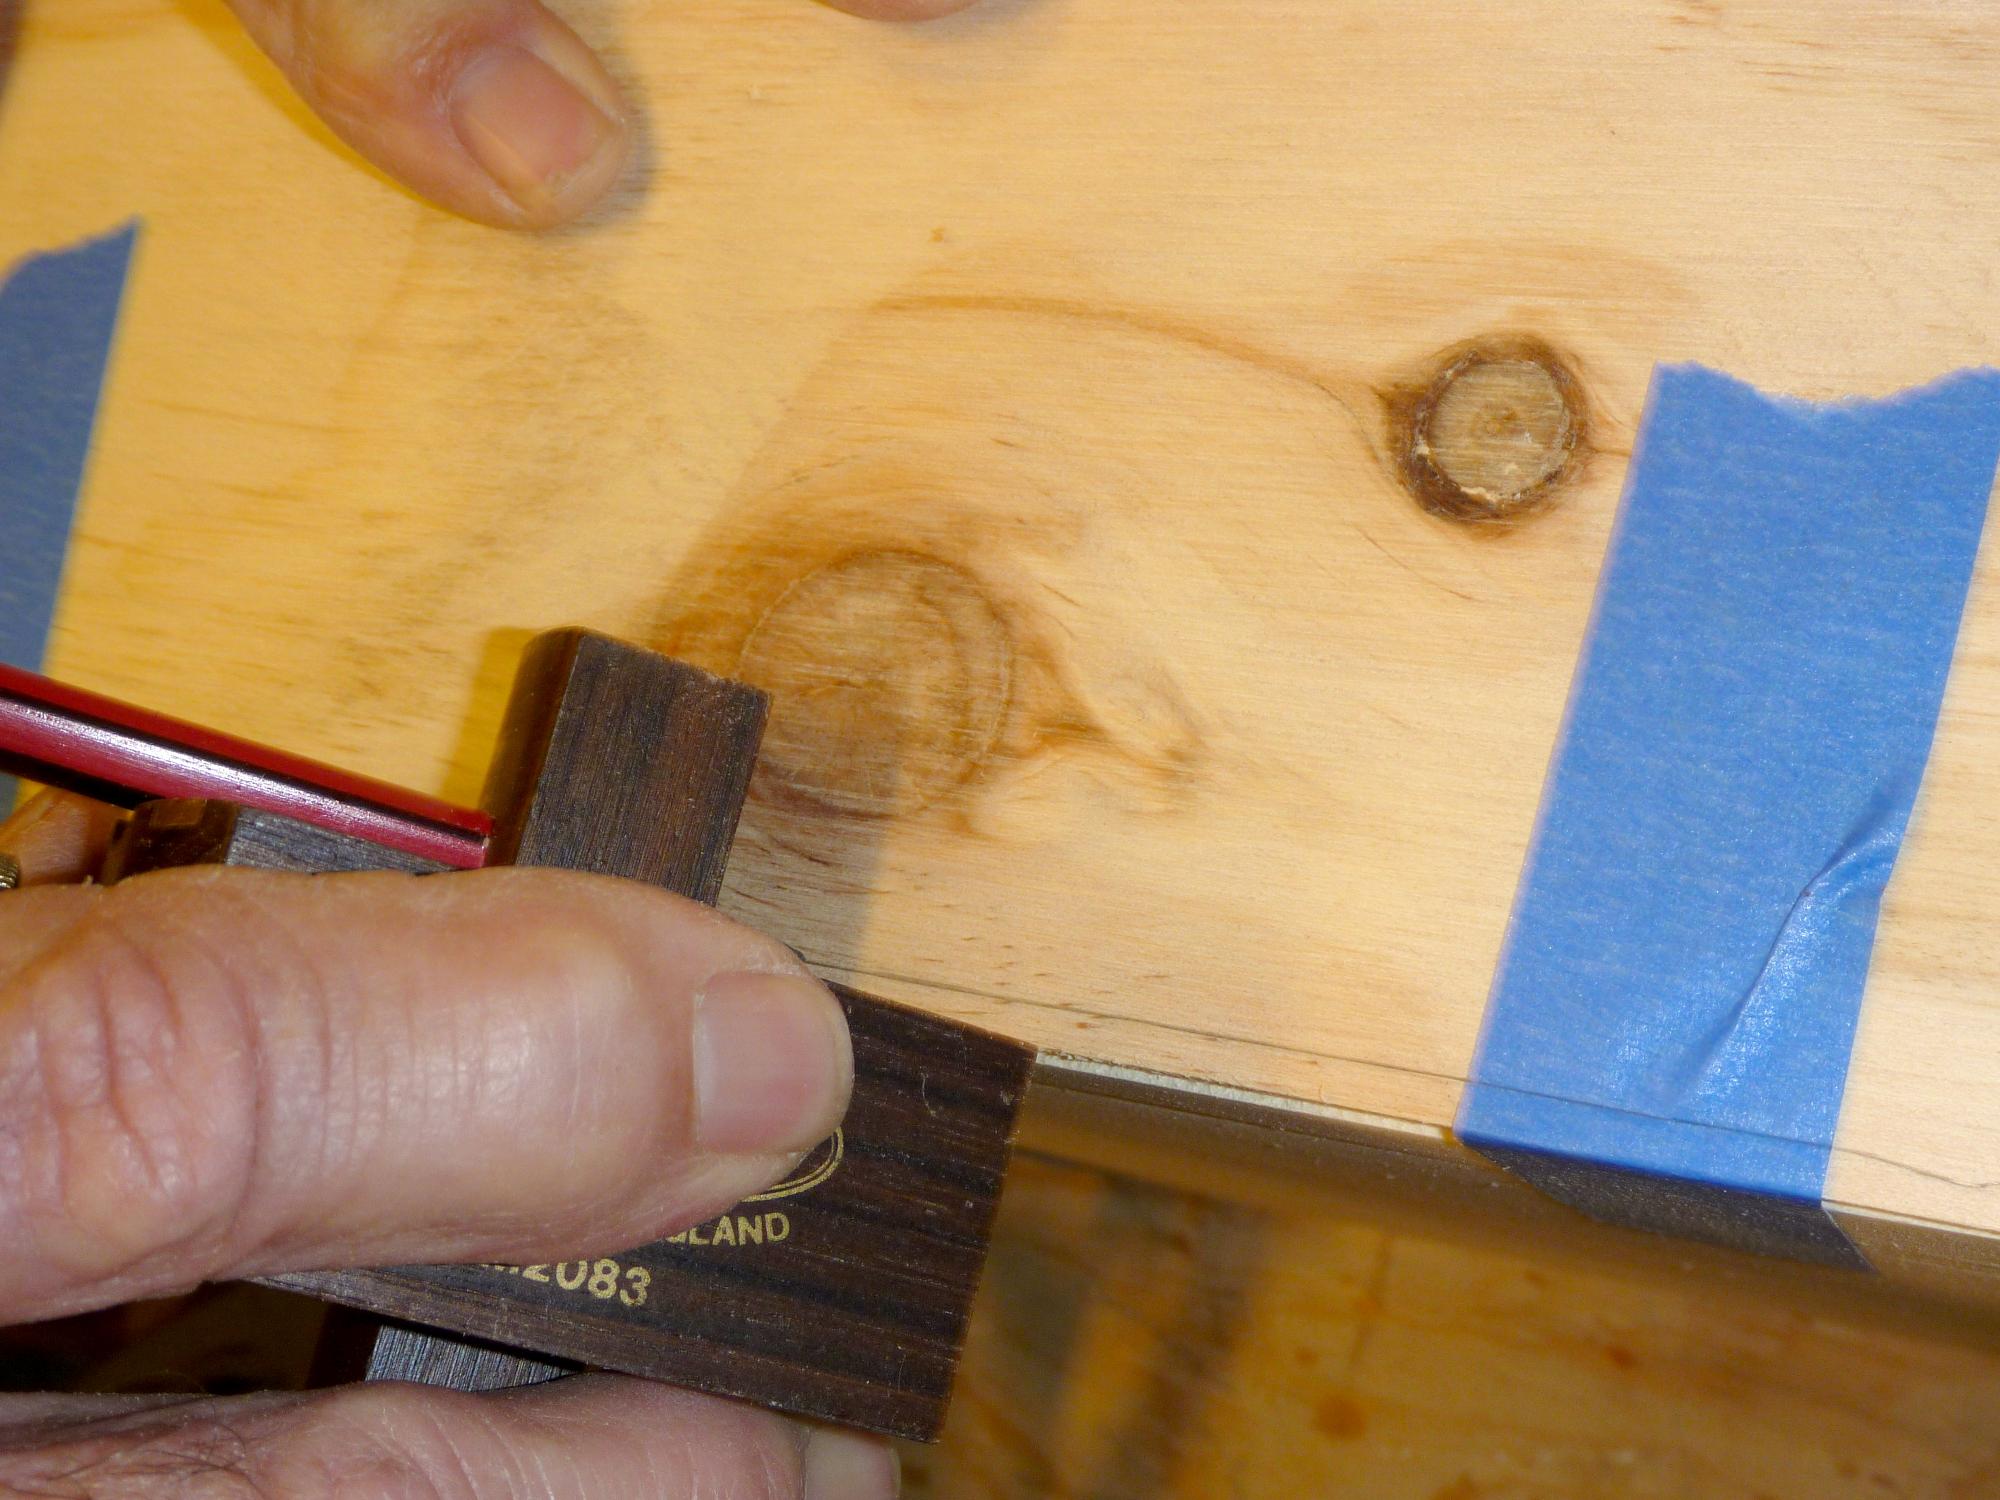
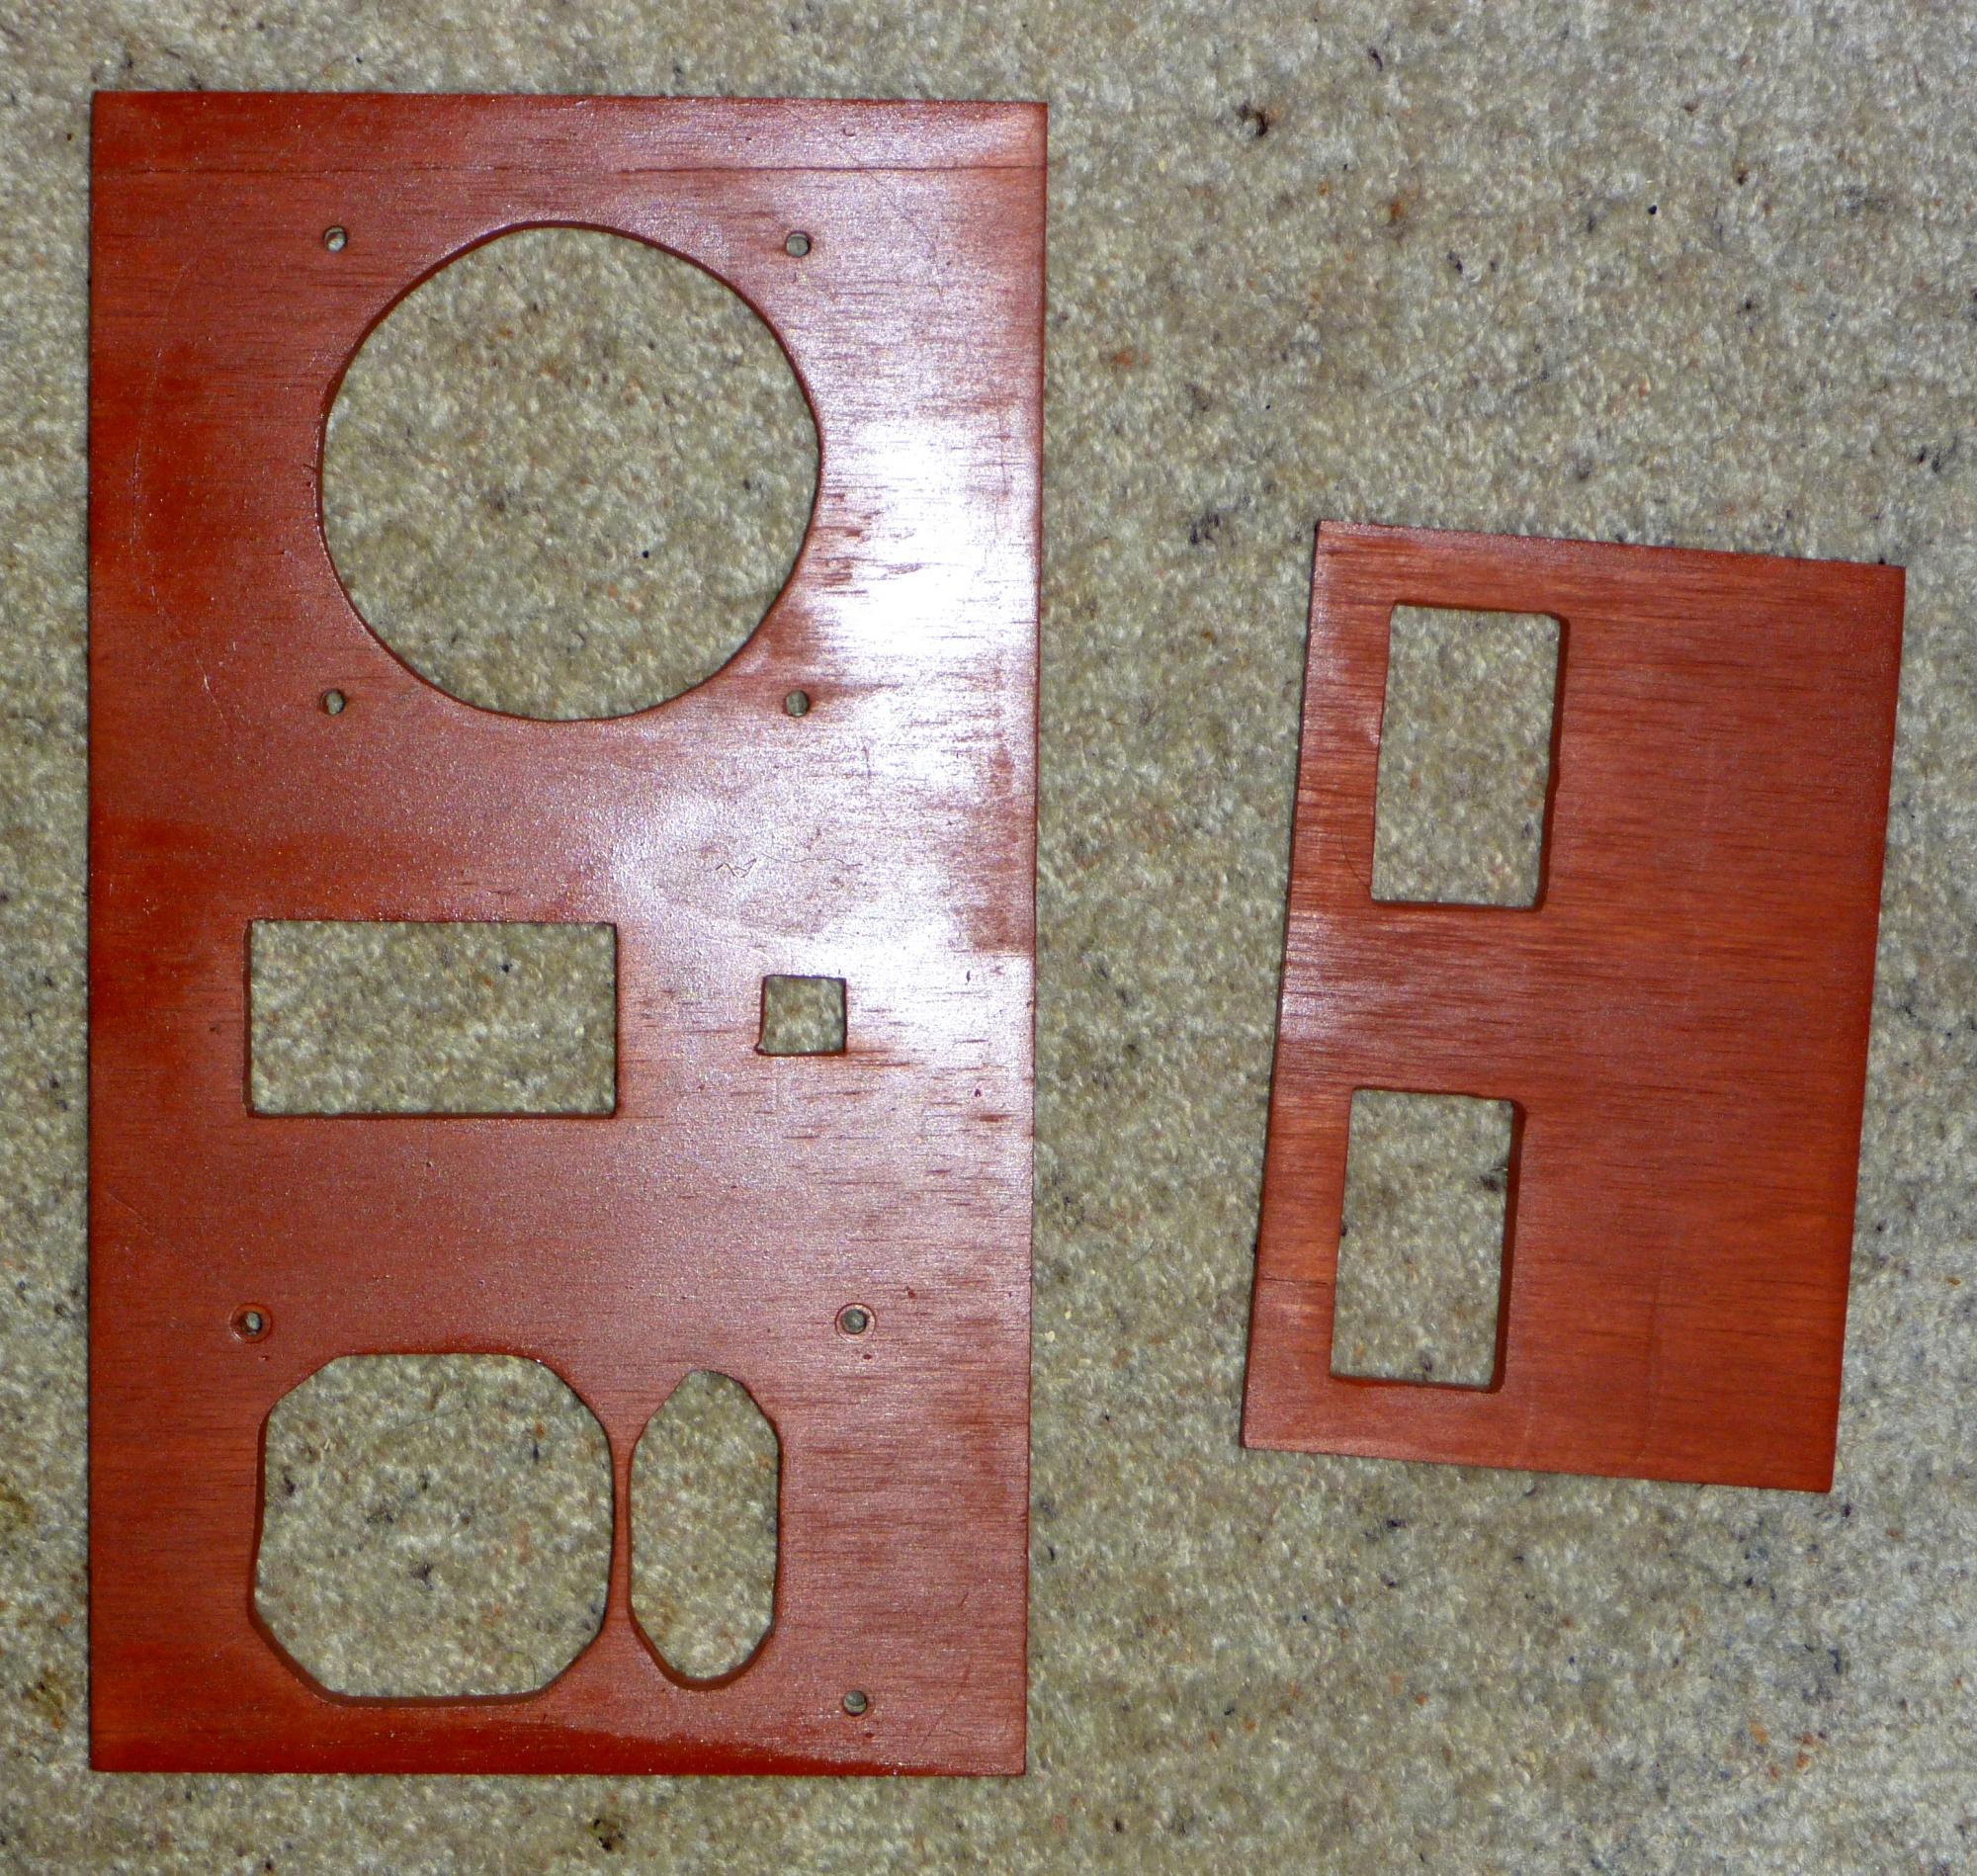
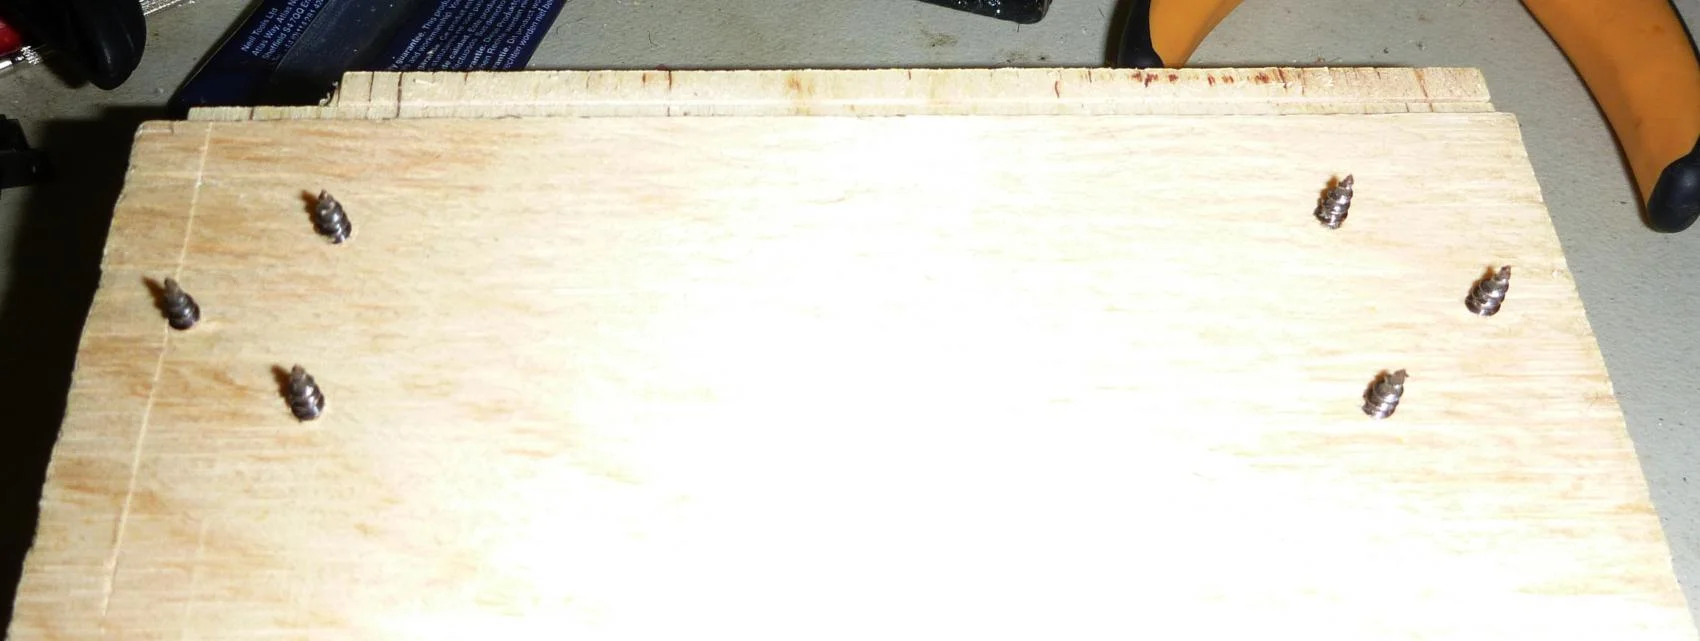
The whole idea for the project, was to create a simple wooden enclosure to house 4 cheap 3.5" SATA hard drive enclosures. I started by cutting out the pieces, and then routing out the top and bottom panels (first image). The two sides were then taped to the top and the bottom to keep them in place while the screw-holes were drilled.
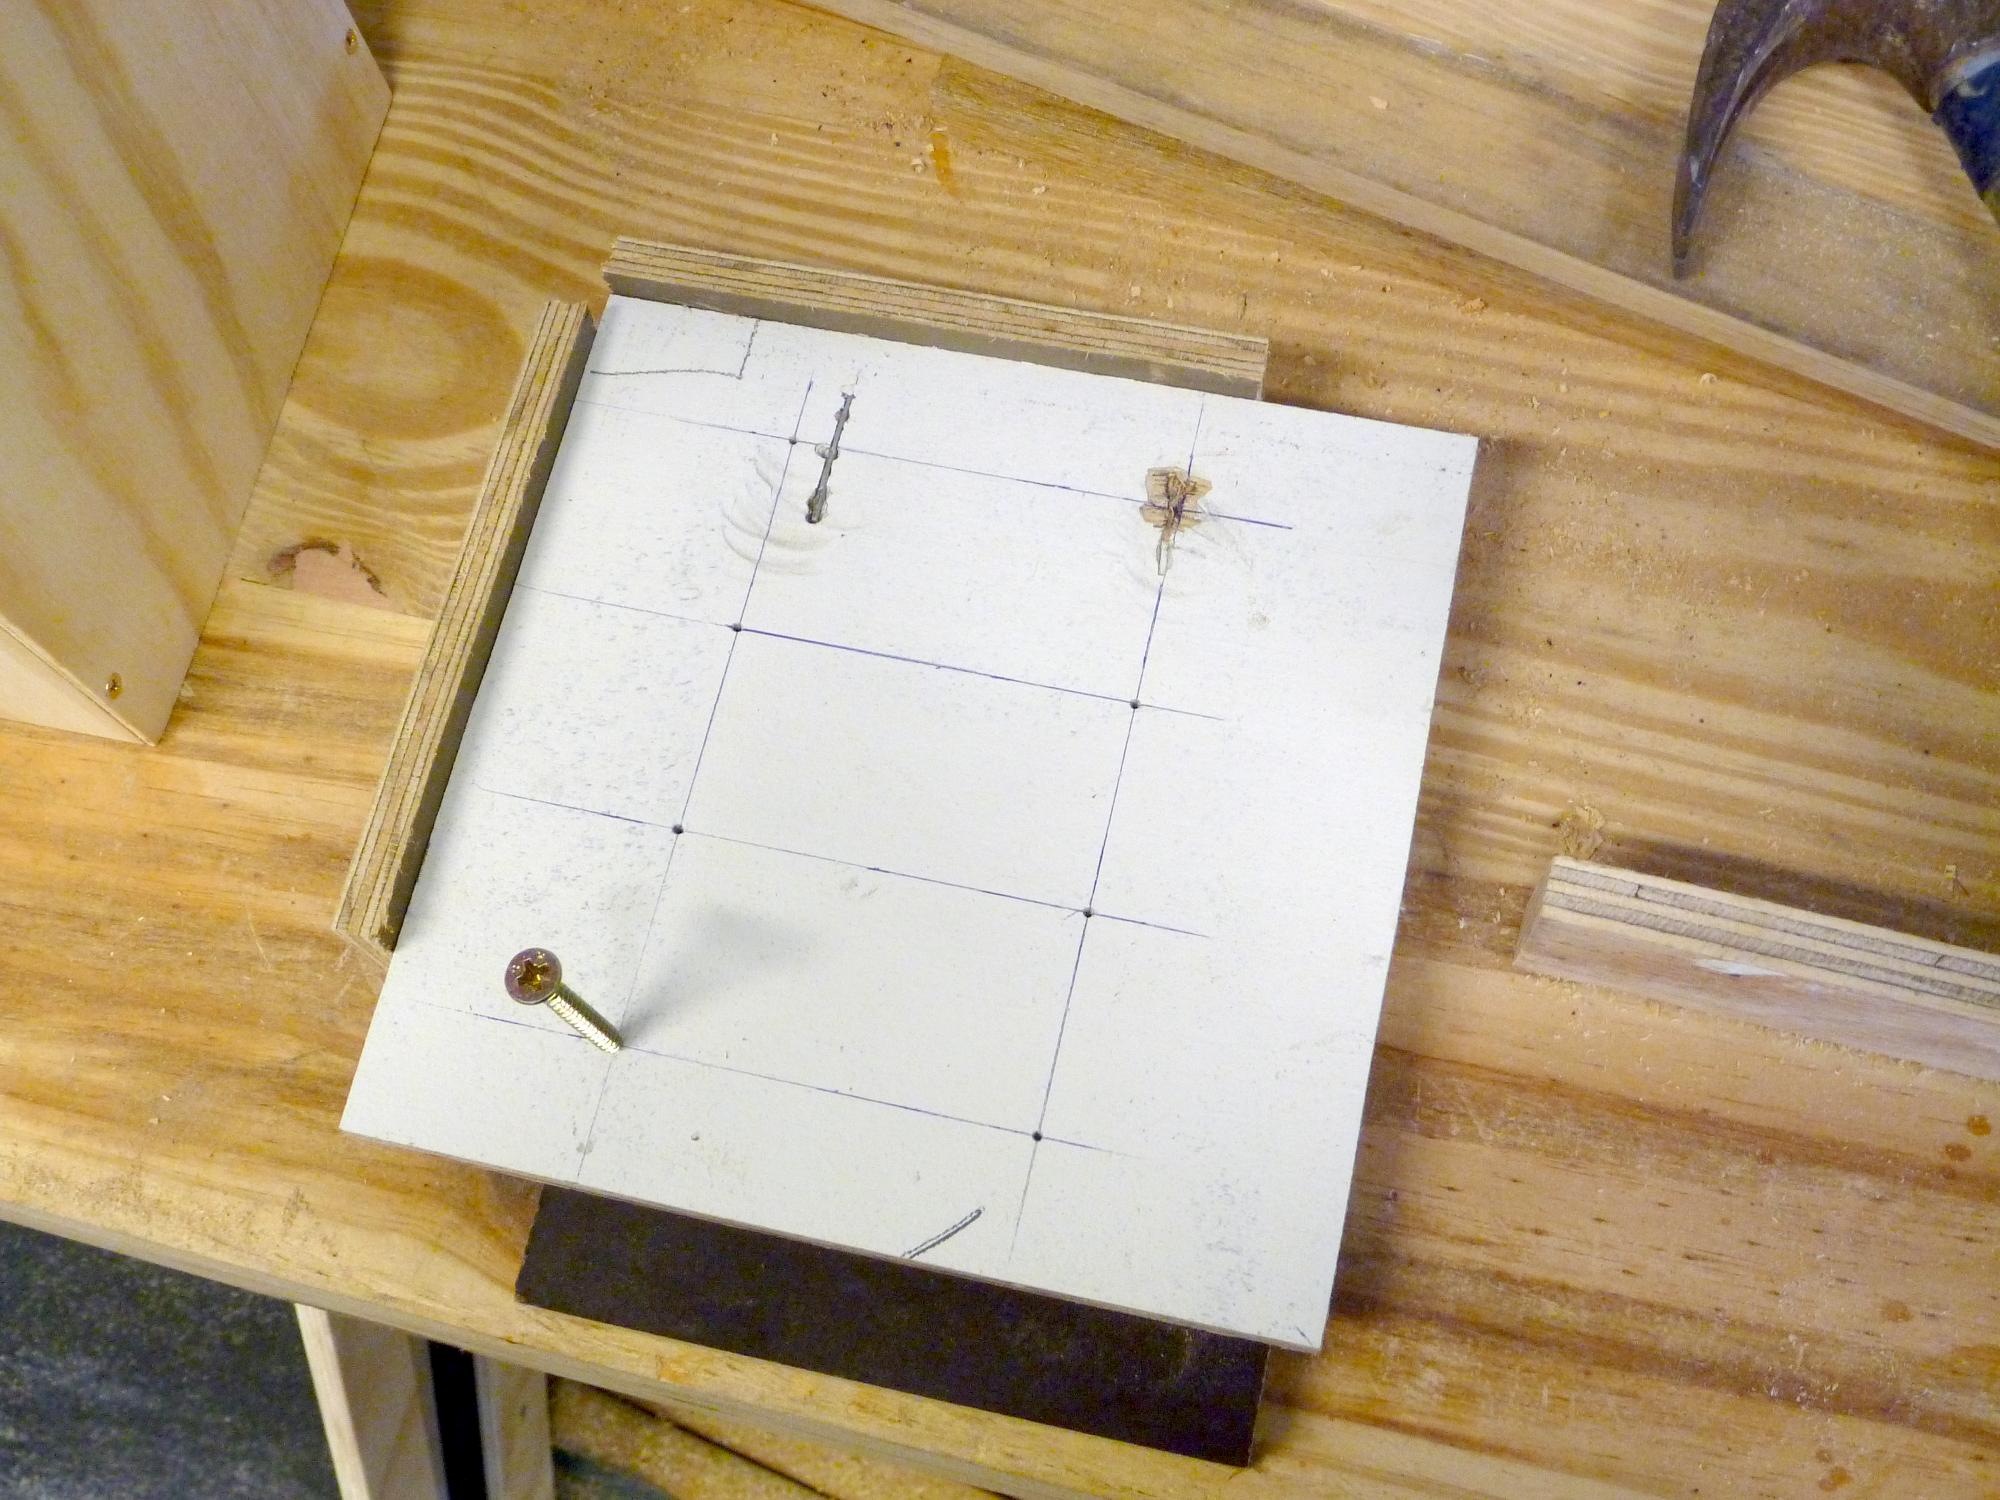
After the top, sides and bottom were attached to each other I was instructed to construct a jig which I used to perfectly align the drill-bit for the holes which were used to secure the drive enclosures. ...Unfortunately, while the holes were drilled perfectly, I afterwards discovered that the drive enclosures themselves did not have symmetry (and -- of course -- I only measured one side of trays, didn't I), so the left-hand side (from the front) sits somewhat proud of the wooden enclosure.
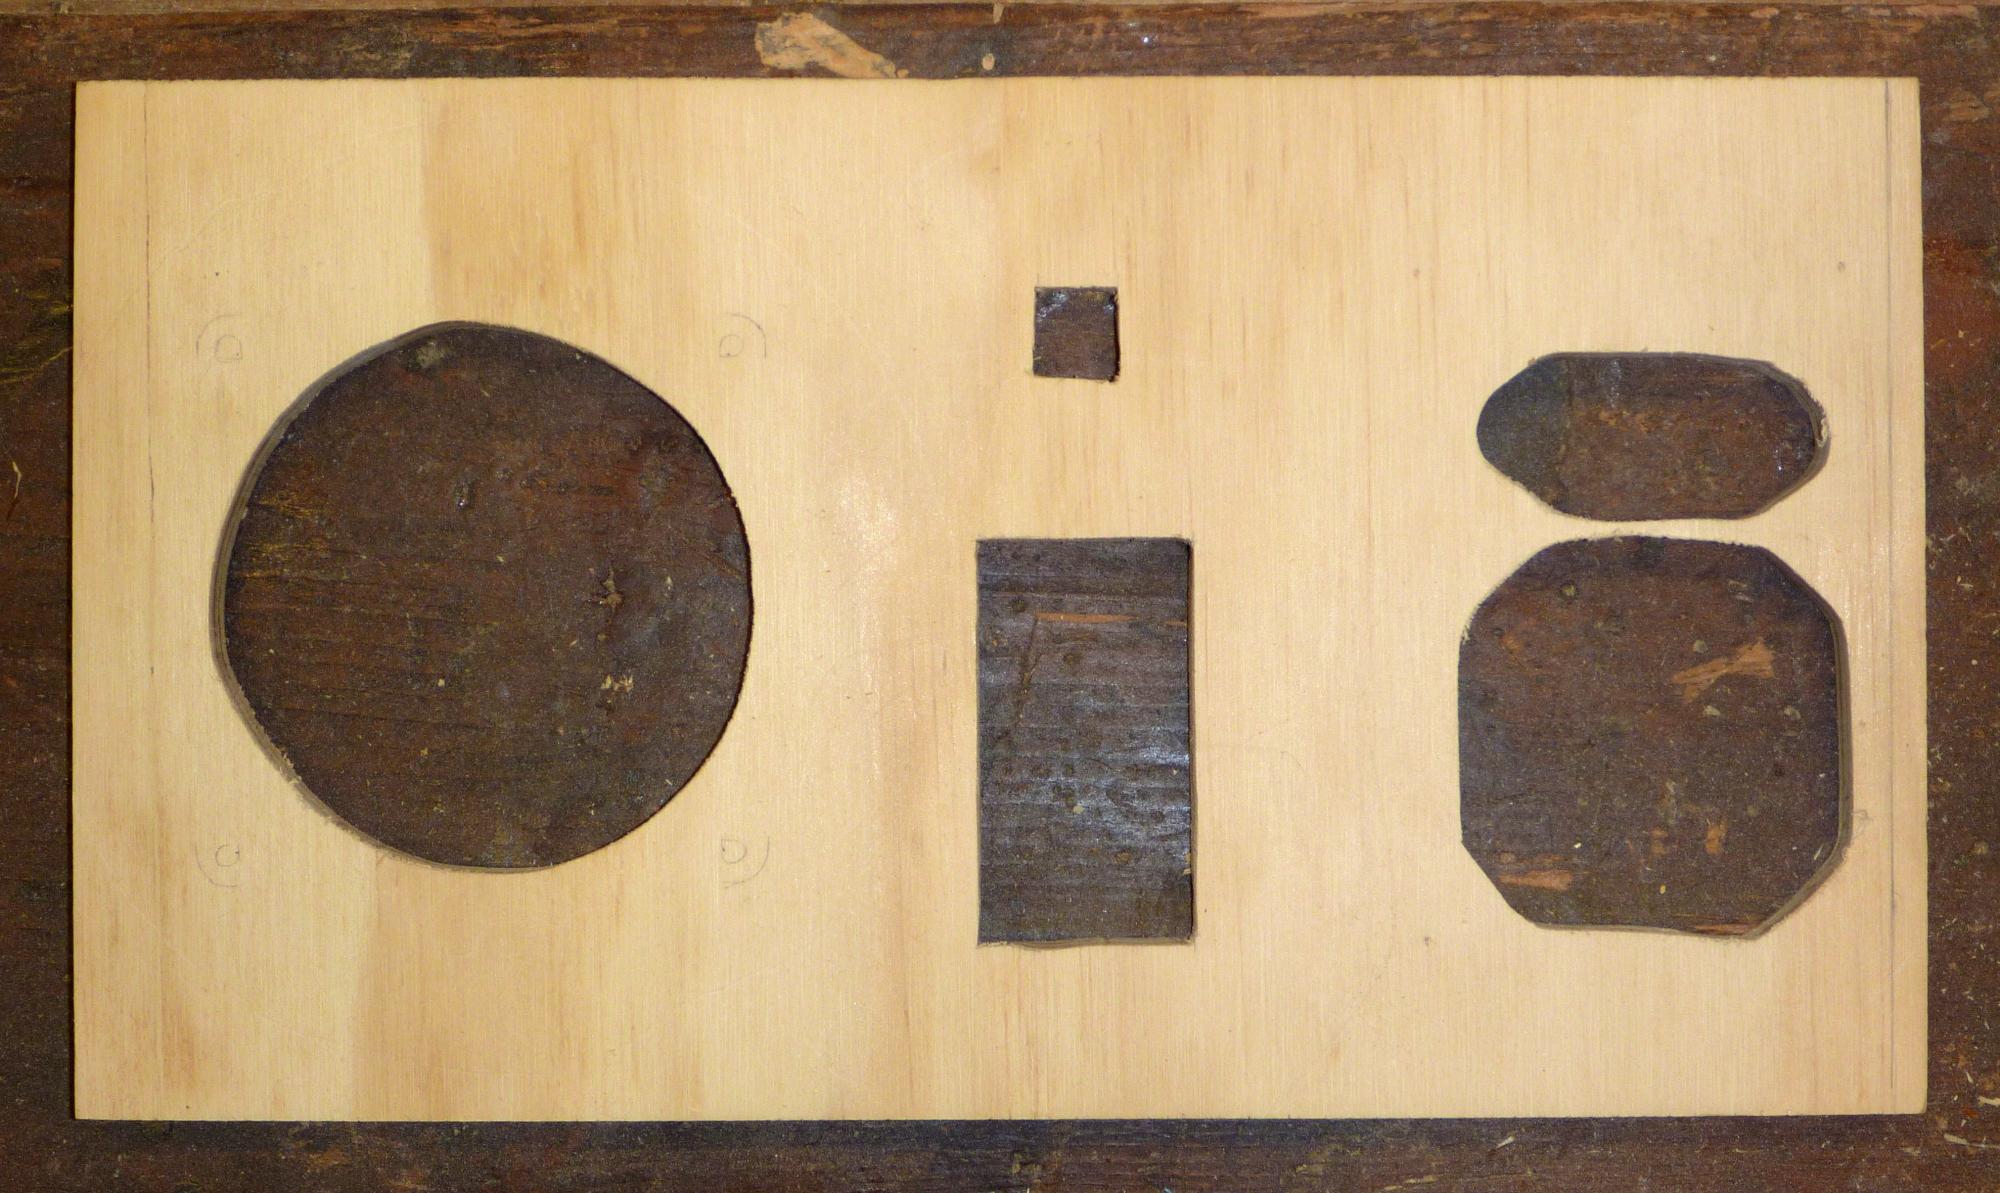
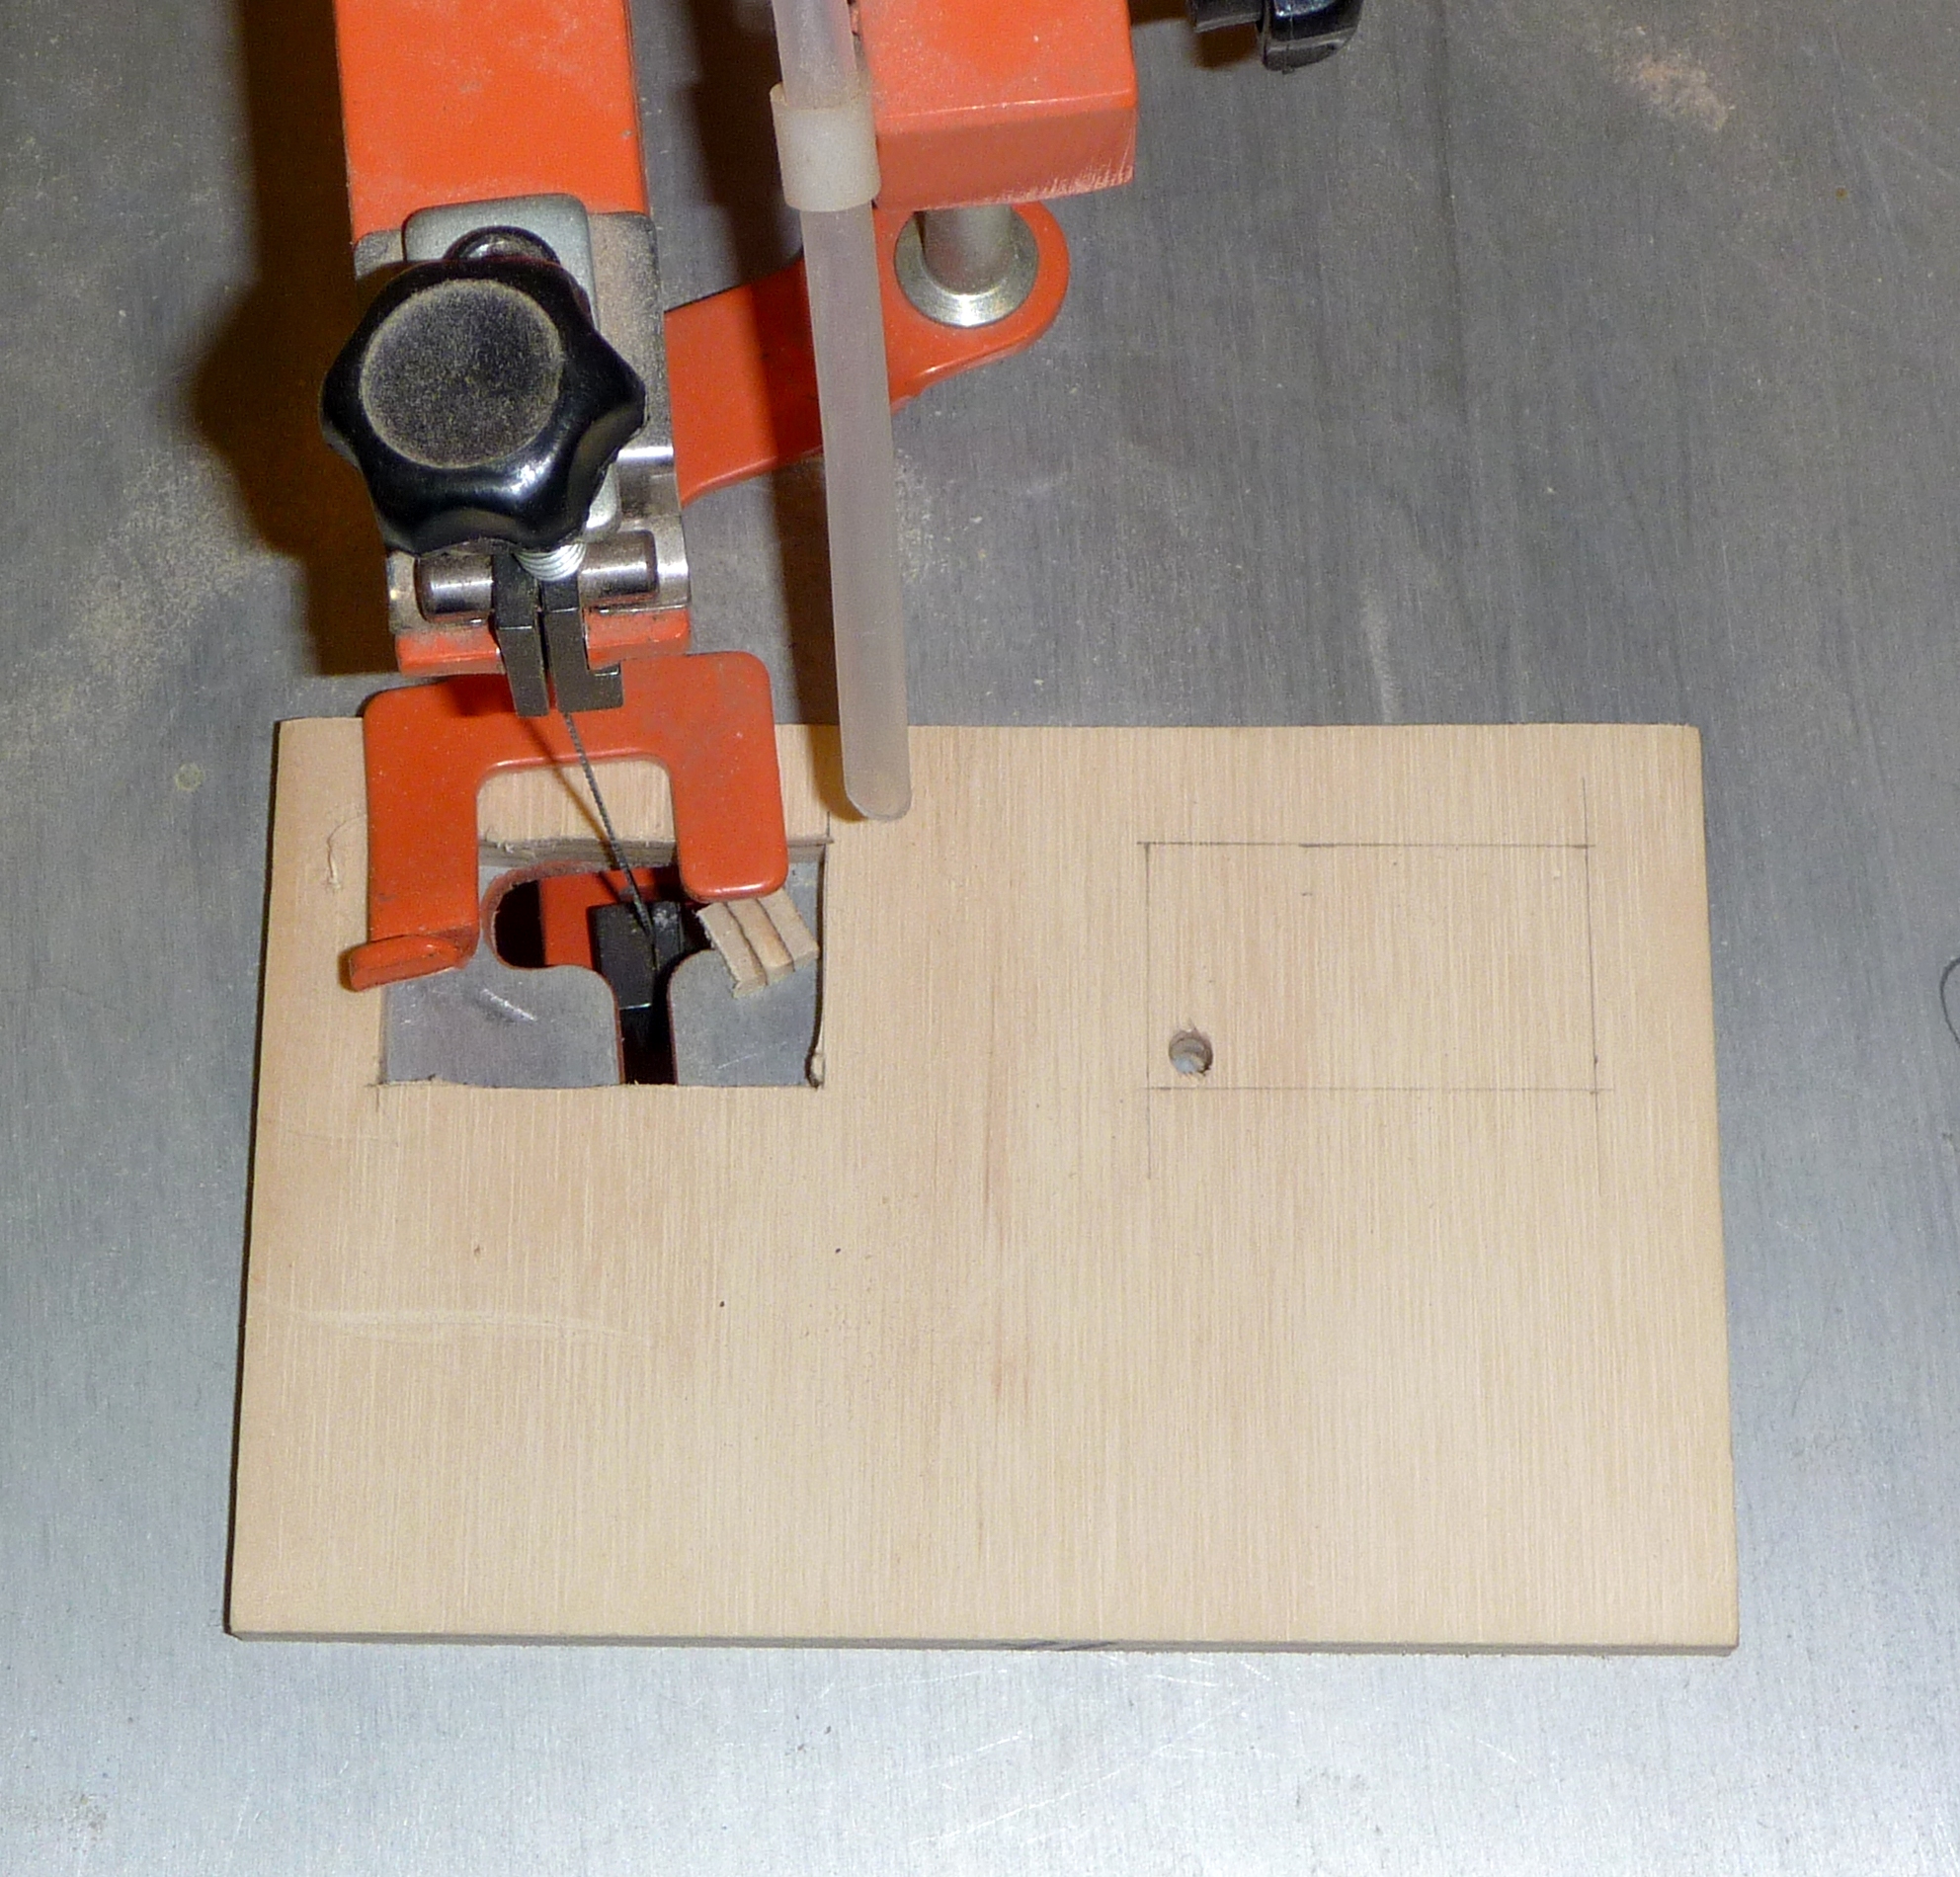
Next, I marked out and cut the holes in the front and rear panel using the scroll saw. You can tell from the images that this is the first time I've ever used one. I had to ask someone how to cut a sharp corner before it became obvious (you cut out a round piece in the middle, then make two cuts that meet in the corner).
The entire enclosure was then made to become this wonderful rust-red colour because I can not, apparently, tell the difference between an exterior, and an interior vanish (I had intended a nice glossy interior varnish).
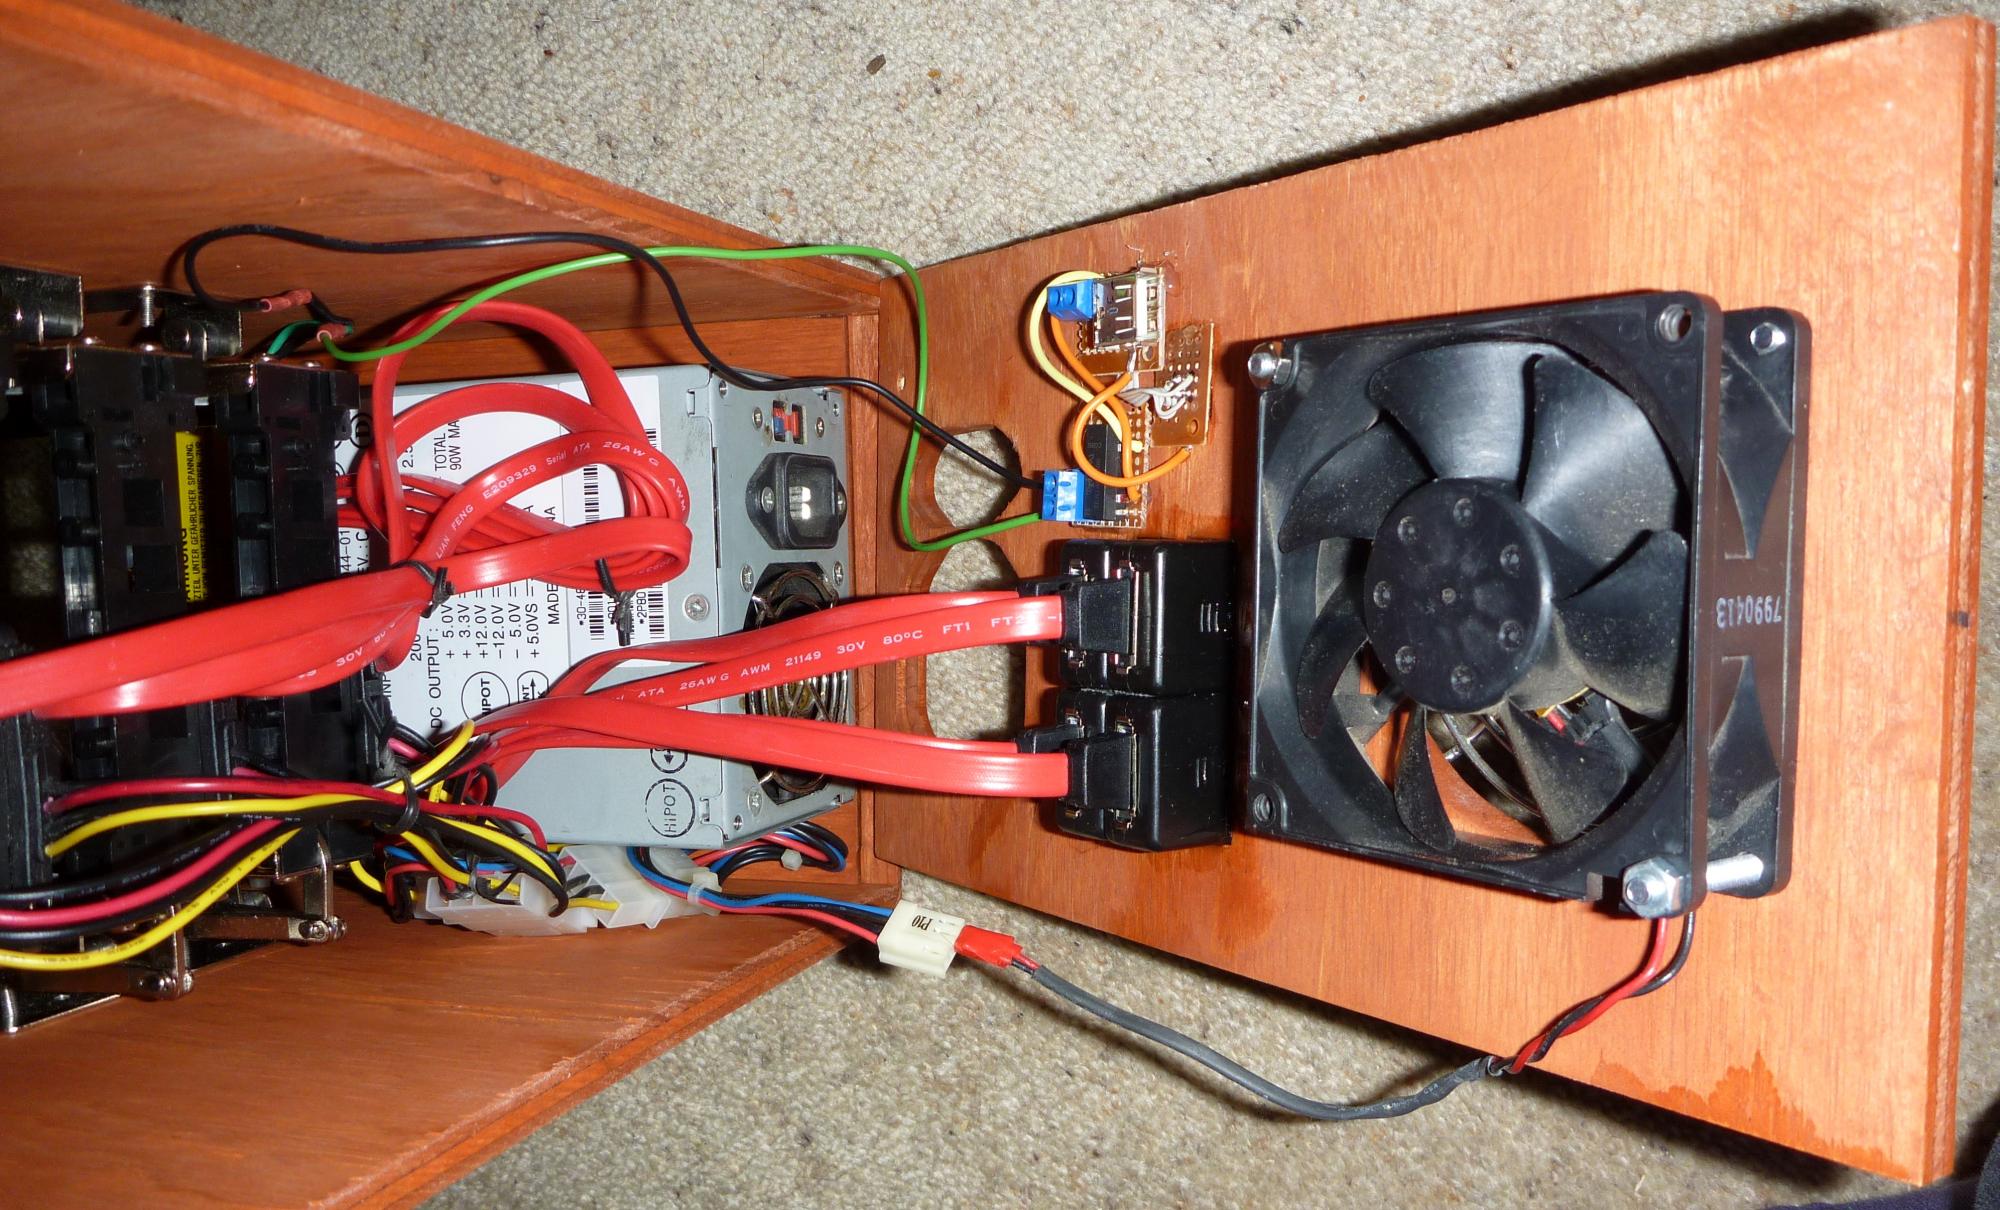
I then decided to work out what electronics I should utilise. It ended up being quite simple; The power supply was an old DEC 200w ATX model from some old pentium II's I had hoarded. Being a 20 pin ATX supply I simply needed to ground pin 14 (usually the green wire) to turn it on. To do this, I rigged up a small reed-realy which would be triggered which power on the USB plug is inserted. I also passed the pins from the USB B socket (outside) through to a USB A socket on the inside, which I later used to plug in a USB to SATA adaptor for the top hard drive. I also attached some terminal strip to hook up the voltage meters (which, being such an old power supply, I thought a prudent thing to do).
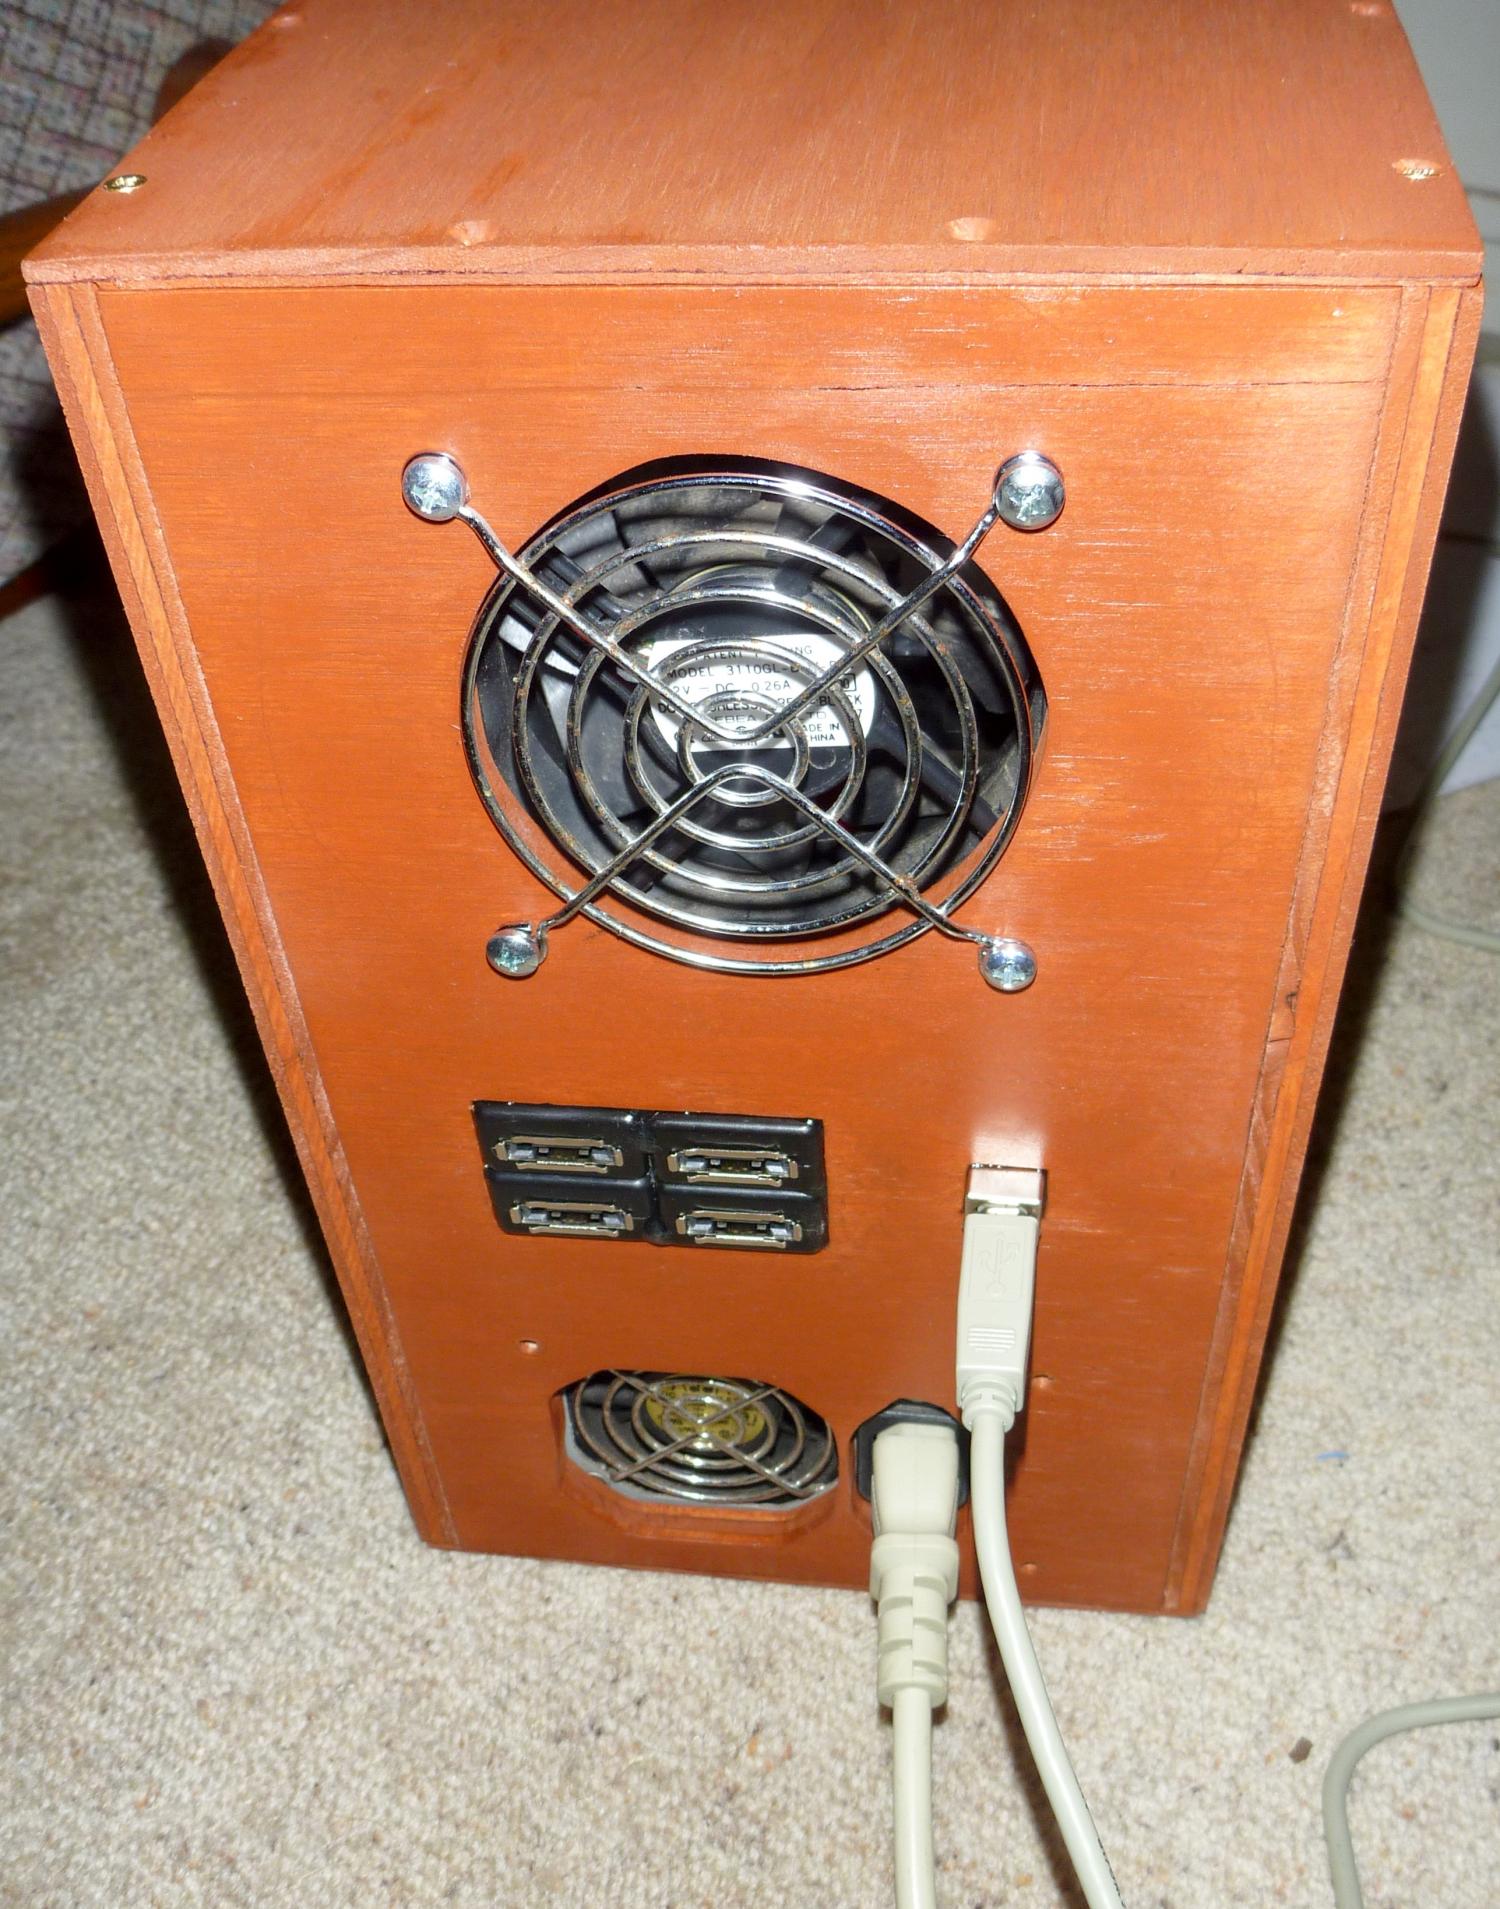
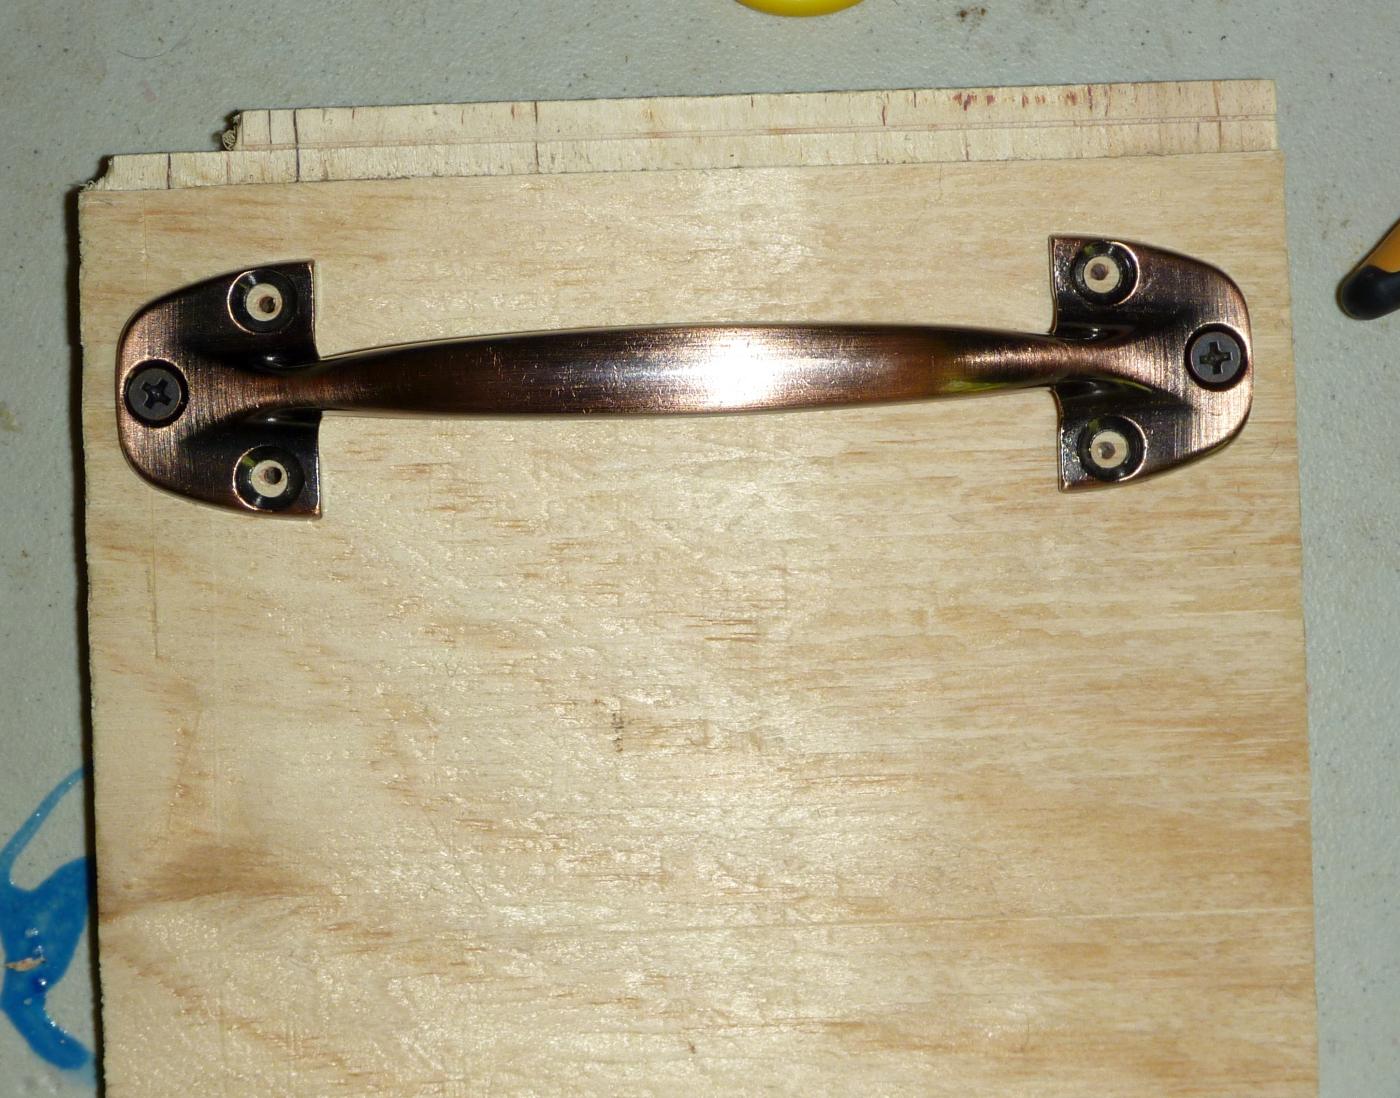
The final features I added was a small knob on the back panel which I added after Alan pointed out that I didn't really have anything to hold onto if I wanted to pull out the rear cover at a later date, and a handle on top to aid in carrying it.
I had some trouble with the top handle when I realised that didn't have enough space for the screws to come in, without causing trouble for the top hard drive when it was installed. Fortunately (for me that is. Not the screws) I own an angle grinder! I screwed the handle into a scrap piece of wood (which was a lot of screwing indeed. It seemed that I had misplaced the Philips driver bit for my drill), and then ground the screws to be more-or-less flush with the wood. I was someone surprised (and perhaps just a little disappointed) that the wood did not catch fire even once during the endeavour.
Finally, after a few odds-and-end had been sorted, I installed the front cover, voltage monitors, and that completed my new external enclosure for up to 4 hard drives. It ended up costing about twice as much as it would have if I had just bought a cheap commercial NAS, but the result was quite satisfying, and I don't regret it.