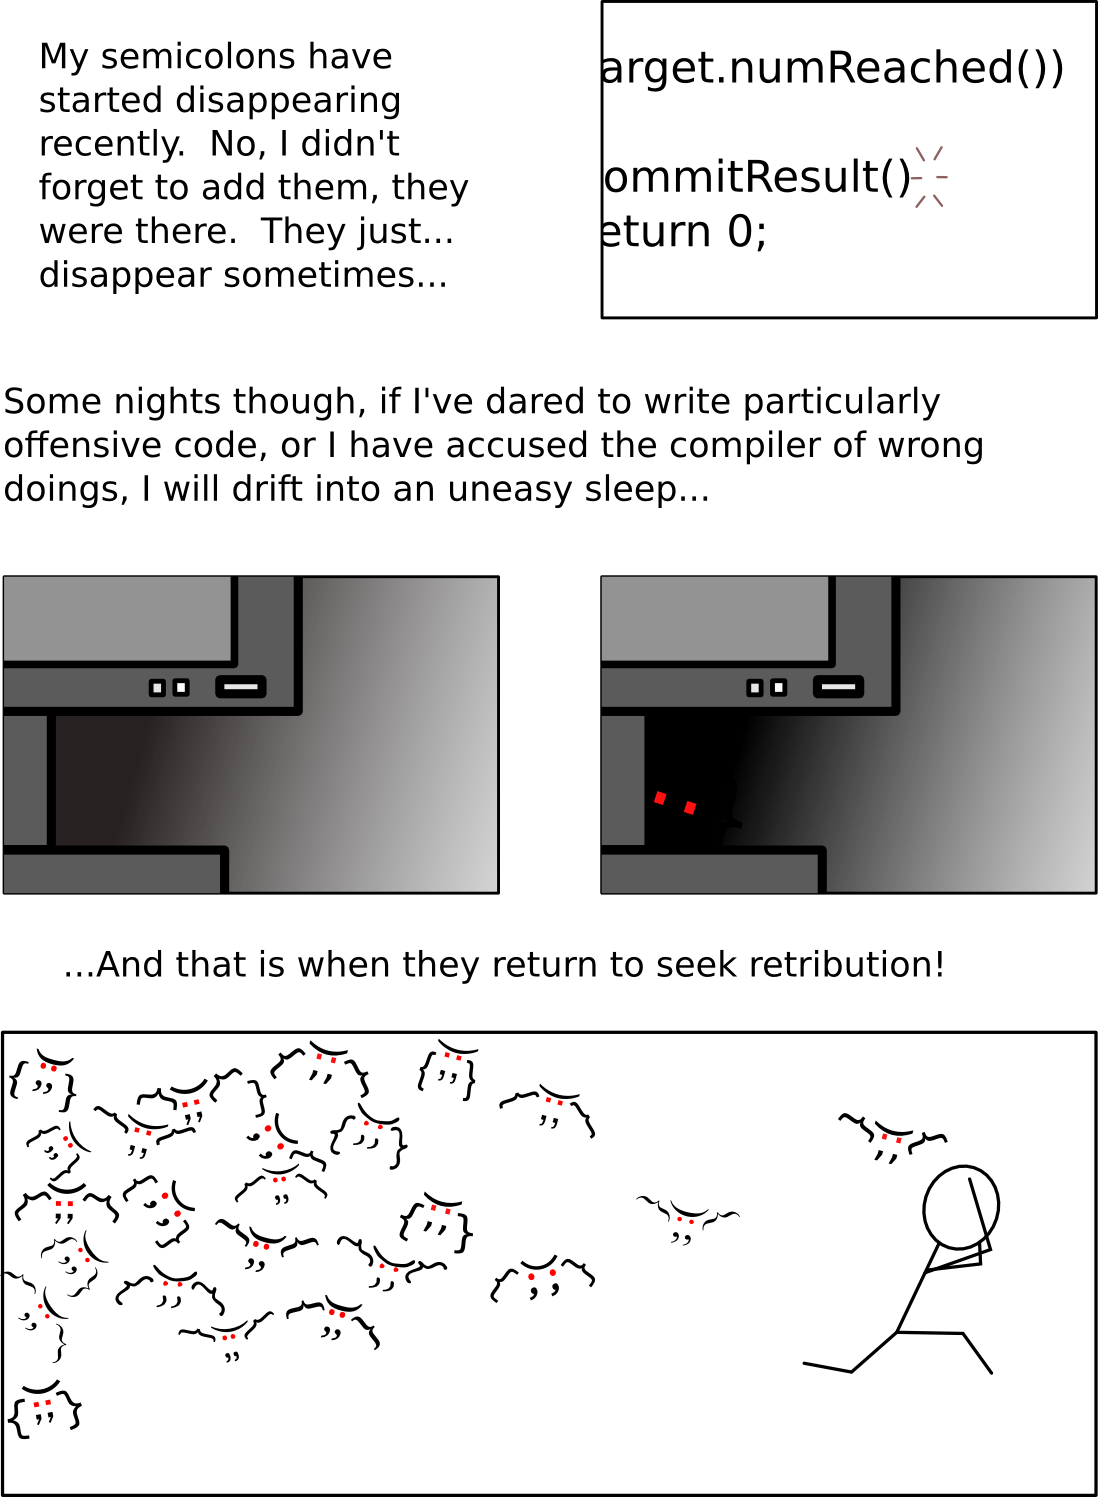
m_RenderingPath = 3: Upgrading to Unity 5.4

We've entered our end-of-year project at AIE, where we form up into teams consisting of programmers, artists and designers and are given 15 to make a game.

Last week, all computers in the campus had unity upgraded from unity 5.3.x to 5.4.  The upgrade of our project was relatively pain-free, but I did suffer a major problem when I pulled the project up at home, on my Linux machine.  Specifically, adjusting the view-port of a camera (i.e. for split-screen multi-player) no longer worked properly.  It just expanded the now smaller view-port to take up the whole of the game view. |:-/

After a Google search revealed nothing, I was preparing to submit a bug report, by starting a new project, when I noted that the new project did not exhibit the bug.  :?  After a lot of testing, I eventually narrowed the bug down to a single line in "ProjectSettings/ProjectSettings.asset":

m_RenderingPath: 3

3 was the value in my legacy project, while the new project had the value of 1.  I changed the value in our project to:

m_RenderingPath: 1

And the bug was gone.  Curiously,  a friend of mine in a similar position was having trouble with frame rate on their game (Windows10), and on a whim, I suggested this change, which resulted in almost doubling of the frame rate.

Update

It turns out that "m_RenderingPath" refers to the rendering pipeline that is used (i.e. Forward rendering, or deferred rendering).  "1" equates to forward rendering, and "3" equates to deferred rendering, so what has happened, is that deferred rendering was enabled at some point in the project, and was subsequently broken in the 5.4 update.

Global Game Jam 2015

Dementia Adventure

In the lead up to my beginning the "advanced diploma in game development" course at the AIE, I decided to try and get a bit of a head start by participating in the GGJ again this year.

The game we made this year, is titled "Dementia Adventure" (A title it received, only as the page for the game was being created).  Even though our game isn't actually working at the time of writing (I'm wrestling with unity in wine as I type this, so that I may swiftly correct this small detail), it's still fun to fling things around, and I'm quite pleased with overall result.  One play-tester at the end of jam described our game -- while laughing uncontrollably -- as "The best game ever", which really touch me.  Especially considering I could, at the time, only see the bugs which I did not have time to fix.

The game

The goal of the game is simply to make a sandwich by picking up the ingredients from around your kitchen, and placing them on a plate, or cutting board. This is challenging enough with our special the-controls-are-awkward-by-design-so-as-to-simulate-an-elderly-persons-mobility-impediment-and-totally-not-because-we-didnt-implement-the-mechanic-well interface, but this is just the premise.  The theme for this year was "What do we do now?".  This is also where the name of the game comes in.  Both TeJay and I have had grandparents who have had dementia at some stage of their lives, and we recounted to each other about how they would move things around, or put them in strange places, and then forget.  Our game simulates this disorientating feeling during your sandwich making mission, by moving things around (actually you did this yourself, but you just don't remember) when your not looking, and putting them where they obviously do not belong.

The Team

We had fewer members in our team this year, as there were fewer people participating without a prearranged team.  I attempted to improve our position by appropriating people from other teams.  The other teams did not appreciate this.

TeJay, with whom I worked last year,  was our artist, and once again forewent sleep in order to fill our game with more "stuff" than any 48 hour game has a right to have.  Together with myself, we were the only 2 contributors to commit to the whole 48 hours in our team.

Samuel Moloney, an AIE graduate, and associate of TeeJay's worked through Friday night to get the basic "grabbing" mechanic of our game programmed, and the level blocked in, before bidding us a farewell early Saturday morning.  His help was greatly appreciated, and was a huge help to someone who hasn't really done any significant work with unity (I mostly just wrote narrative last year), and didn't really know where to start.

Finally, Cody Little helped us by composing some rather appropriate music for the game, as well as some music for other teams.

Going Forward

Both TeJay and myself have expressed interest in polishing up the prototype, and implementing some of the mechanics that we had to leave out.  I plan to get what we have actually working first, and then see what other people think of it, before, perhaps, taking things a step further.

How to block the use of part of a touchpad

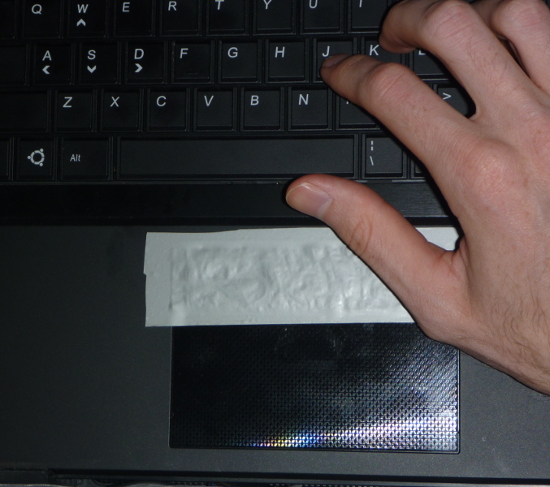
The wrinkly portion under the duct-tape is the aluminium foil.

The wrinkly portion under the duct-tape is the aluminium foil.

My laptop has a very generously sized touch pad.   Unfortunately, the manufacturers of said laptop were not quite as generous with the usability studies of using such a pad so close to the keyboard.  Even more unfortunately, the track pad is also quite sensitive, making it quite a challenge to effectively use the keyboard.

I can just disable the track pad while typing, but there is still a noticeable window between putting my hand on the keyboard and my beginning typing for all sorts of window related shenanigans to take place, thanks to the mighty sensitivity of the touch pad.

A brief search didn't reveal any linux-based (or any software-based for that matter) solution to shrink the effective area of a touch pad, so I took a more direct approach.

My first attempt involved putting some duct tape over the upper portion of the novelty-sized touch pad, but this had no effect.  Not too surprising considering how a capacitive touch pad operates.  More layers of duct tape, and even cardboard proved no match for the formidable sensor.

I didn't take me long to realise that what I actually needed was something conductive.  A small rectangle of aluminium foil under some duct tape, and the touch pad has finally met it's match!  I had to disable, and then re-enable the touch pad initially, as it registered the foil as one big "touch", but it seem to be working well now.

Fixing Plymouth on Ubuntu 14.04/Mint 17

I've had problems in the past with Plymouth (the pretty graphics you see at boot time) disappearing not long after a fresh installation.  I'm reinstalling fresh for this release, and Plymouth has once again absconded right after installation of the proprietary Nvida drivers.

After a quick search of the internet it became apparent that this is not an uncommon problem, nor can anyone agree on a consistent solution.  The solution for me was to edit /etc/default/grub and add the following line:

GRUB_GFXPAYLOAD_LINUX=1920x1080

(1920x1080 being my monitor's native resolution).  Then run:

sudo update-grub

What that line does, is set the resolution of the frame buffer, just prior to handing off control to the initial ramdisk (or initrd.  This is where Plymouth lives), which seems to make Plymouth happy.  This setting is not to be confuse with (for example):

GRUB_GFXMODE=1920x1080

Which would set the resolution of Grub it's self to 1920x1080.


A New Coffee Grinder

I inherited a an old aero press and coffee grinder from work last year.  While the aero press was in good working order after a good clean, the grinder was a little problematic.  It worked for a small while, but it soon began to grind more slowly, and eventually seized completely.  I pulled the grinder apart to see if anything could be done about this.  To my surprise, everything seemed to be in reasonable good condition, except for the blades.  I could see where the flutes in the grinding rings had been clogged by coffee grounds, and turned a wonderful shade of charcoal from being burnt by the heat of the friction the grinder generated.  Looking at the steel blades, it seemed that they were quite worn, and not user-replaceable (they were riveted in place).  I cleaned out the flutes, but it almost immediately seized again. This is when I decided I need a new coffee grinder...

p1050036.jpg
p1040977.jpg
p1040800.jpg

I bought this fine hand-powered coffee grinder as a replacement.  It's a very compact, Japanese-made (Porlex) ceramic-burr grinder, which is actually small enough to fit inside the plunger of my aero press.  The manufacturer claims a "smooth" hand-powered operation, but at >100 turns per coffee, you'll certainly feel it if you like more than a single shot (I intend to do something about this, but that's another project).

The grinder holds up to two shots worth of beans, and due to its simplicity, it is incredibly easy to clean.  There is a thumb screw on the bottom (the white "+" shaped widget in the photographs) which once removed, lets you completely disassemble the unit for cleaning, although I usually just get away with blowing out the basket, and the the top where the beans go in (Mind you, I wouldn't do this inside.  Your face will also smell of coffee afterwards).

p1040932.jpg
p1040970.jpg
p1040974.jpg
p1040975.jpg
p1050039.jpg
p1050037.jpg

Global Game Jam 2014

Regan Remembers Title.png

I spent last weekend at the Canberra AIE Campus, participating in my first game jam.

This particular game jam was part of Global Game Jam 2014, and so was open to the public.  I'd like to, once again, say a big thank you Dale Ward for organising, and the other staff from the AIE for helping out with this year's game jam.  All participants were allowed access the campuses faculties, and were provided with breakfast, dinner, and wide variety of snacks.

Most of the teams, even though they are discouraged from doing so, were formed before the event commenced, however, since most of the participants were graduates from the academy, it's only natural that they would have already found groups that work for them.  The remaining 6 participants (myself included) formed the final team, made up of two programmers, two artists, a game designer, and an all-rounder.

ggj14theme.png

The theme for the Global Game Jam this year was "We don't see things as they are, we see them as we are".  While our team had differing opinions on what exactly the theme meant, we all agreed that perception was the key ingredient.  A few minutes later we had started to coalesce around a single idea: Every one has a different perception, and sees the world in a different way.  We wanted to make a game that would tell the same story from the perspectives of 3 different people, and that's how we came up with the plan for our game.

reganremembers.jpg

The game we made is called "Regan Remembers", where the player plays the part of a detective, who has to interview 3 witnesses who were at the scene of the crime, nearly 40 years ago.  The reopening of the case came about, as a new witness, Regan Wesley, apparently suffering from Post Traumatic Stress Syndrome, has recently begun to remember pieces of what had happened on the night of the murder.  The original plan was to allow the player to interact with a 3d mind-scape, where events were triggered by asking the interviewee questions while exploring the mind scape.

Each interviewee was to have their own perception, which different camera heights, missing/imagined props based on what each interviewee remembers, and different sections of the environment fading to white when they don't remember anything in that section.  The player (detective) was then suppose to "recall" what each witness had described in his/her own mind-scape where the player could then correlate each event, as the witness had described to try and piece together the story of what really happened to the murdered individual.

In hind-sight, it was a pretty ambitious idea.  We realised this on the first day, and so we reduced our scope to just showing the 3 perceptions of the last part of the story, with a couple of puzzles derived from the dialogue that the player can interact with at the end of each recount of the witness.  In practice, it ended up being a bit unwieldy, since the player has to talk to each witness multiple times to unlock a set of dialogue options that will lead to the end of the game, and we didn't have time to put in enough hint's/cues to tell the player where they should go next.  Also, the players move really slowly.

I am quite pleased with the end result, however, given the time frame we had to work with.  We had a very complete and immersive  environment (Even though there were an additional 2 rooms, and an elevator that didn't have time to put into the game), music, sound effects, as well as the story, which I am quite proud of.  We also managed to squeeze in two easter-eggs (but one of them got misplaced when we updated the scene with a new version).

In terms of the actual experience I had, I have to say -- after getting a bit of sleep afterwards -- was overwhelmingly positive.  I feel that our team worked really well together, and I didn't once feel any friction between team members.  Even as things started to get quite stressful near the end, even though profanity began to rise to obscene levels, friction, surprisingly, did not.  Each member of our team naturally gravitated towards their preferred position, with an artist, and programmer (not me) taking the lead in their role, and the rest of us filling in the spaces where we felt our effort would be best spent.  When one of us felt like we had bit too much, then we would delegate, and someone else who was able to, would pick up the slack (except near the end.  Then we all just watched over Matt's shoulder as he worked (and exclaimed) furiously to squash the worst of the bugs, minutes before the dead-line).

At night, the gates closed at midnight, and opened again at 08:00 the next day.  I would estimate that roughly 2 thirds of the participants left for the night, with the rest of us (myself included) left behind to find respite where we could.  I had a camping mat in addition to a sleeping bag, so I was able to get some decent rest in an empty room, while everyone else, it seemed, opted to sleep on couches, or the floor when no more couches were available.  Even thought the quality of sleep may be somewhat impeded, I still believe that spending the night on site is the best choice, as I was able to stay focused the whole time, and didn't need to waste time travelling, waiting for the gates to open, etc.

The fee for participating was $15, which bought us breakfast -- including egg and bacon sandwiches on Saturday morning -- A reasonably diverse dinner, and -- my personal favourite -- access to an elaborate pyramid of instant noodles.

Overall, a thoroughly enjoyable experience.  I look forward to participating in the next game jam.

Effective and More Effective C++ (Books)

On recommendation from a good friend, I picked up two books on C++ programming from the book depository (via Ebay).  "Effective C++ Third Edition" and "More Effective C++".

Although not very recently published books, they remain very, well, effective at teaching good C++ programming habitsThey are aimed at people who have a solid understanding of the language, but may not have the experience to help them choose the most appropriate design for a piece of code, or safeguard themselves from falling into one of the innumerable pitfalls that the language is littered with.  I haven't read the twin tomes from cover to cover yet, but I've technically been programming in C++ for nearly 6 years, and still I managed to pick up something new in the majority of chapters I've read, with the remainder nearly all describing something I already employed, but didn't really know why.

All the basics of design are covered, such as designing interfaces which are easy to use and hard to misuse, resource management, and the books do very well at covering the most prevalent ways in which one can misuse C++ (or which there are no shortage, being C++), but more importantly, they teach how to avoid them.

The language (Prose, that is) used is clear, but quite casual making for a comparatively captivating read (as captivating as a text on C++ can be, at least).  Here is an example I found amusing:
An assignment to self occurs when an object is assigned to itself:

class Widget {...};
Widget w;
...
w = w;  // assignment to self

This looks silly, but it's legal, so rest assured that clients will do it.

As an example of how thorough the texts are, near the end of "Effective c++" is a chapter titled "Be aware of template metaprogramming".  Note how present the topic as a hazard (which is a very apt way to frame it, I might add) rather than a tool -- helpful or otherwise.  Template metaprogramming is an ingeniously (and I mean "ingenious" in the most insane way possible) abstruse method for forcing code to be evaluated at compile time, which would otherwise have to be evaluated at run time.  This paragraph from the book I think sums it up better that I can:

If you think this is cooler than ice cream, you've got the makings of a template metaprogrammer.  If the templates and specializations and recursive instantiations and enum hacks and the need to type things like Factorial<n-1>::value make your skin crawl, well, your a pretty normal C++ programmer.

I would recommend these books to any C++ programmer -- both new and seasoned -- who has at least basic knowledge of the language.  If you need to choose one book or the other, I would recommend "Effective C++" over it's counter-part, as it covers a much broader range of topics.


Publisher: Addison-Weasly

Author: Scott Meyers

ISBN:

Effective C++ third edition: 0-321-33487-6

More Effective C++: 0-201-63371-x

A Micro SD card reader, or a new take on USB flash drives?

I purchased this tiny micro-SD card reader on ebay not too long ago.  I was fascinated by the idea that the SD card was small enough to fit into the space under the USB plug's contacts, normally occupied by PCB, plastic, or some other backing material.

In testing, using an 8Gb Transcend micro-SD card, I was interested to see that it could easily reach full USB 2.0 speeds (on writing as well as reading).  It seems to be reliable enough, however I have noticed that on occasion the sd card will become partially removed when pulling the adaptor out of the usb port, however since it is already safely unmounted when being removed, I don't think it is too much of an issue (provided one checks to make sure the sd card is not missing from the adaptor before putting the cap back on).  I've not experience any data loss so far.

I've cut off the larger loop of nylon on the end of the adaptor, and tied the loose ends of the smaller nylon chord into a reef-knot, before securing it with some super glue, so It fits on my chain of assorted usb devices a bit better.  I intend to keep using it as a USB flash drive, and swap out the sd cards as I need more capacity from now on.


p1040343.jpg
p1040344.jpg
p1040347.jpg

Too many hard drives

The finished product complete with voltage monitors on the front.

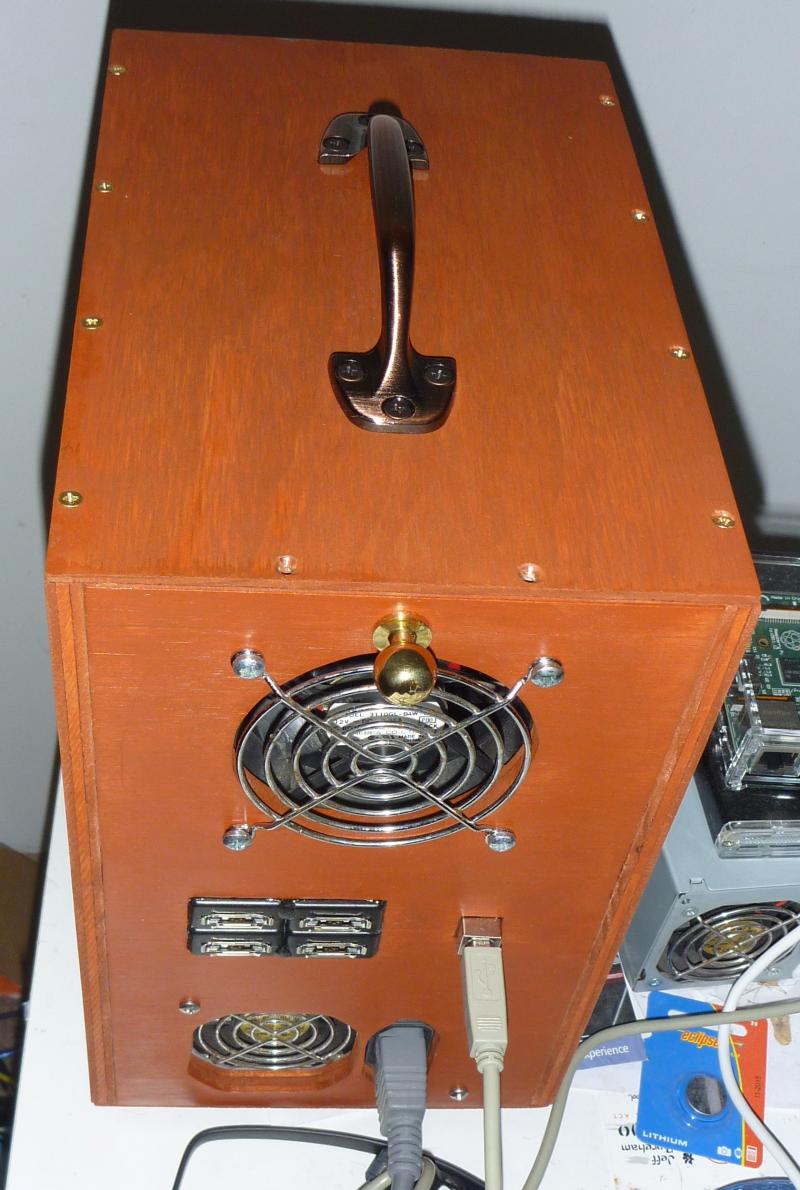
What does one do when one runs out of hard drive space?  Some people might purchase a NAS, but I saw this as an opportunity for a project that I could work on at our local men's shed, while also building something I needed: A wooden unit to house some external hard drives that will be attached to my server via eSATA and/or USB.

Everyone at my local Men's shed were extremely helpful and always ready to offer advise, with a small number of people simply exuberant to see me doing something which didn't (directly) involve my laptop.

A wonderfully helpful man by the name of Alan, helped walk me through a lot of the process for which I really had no prior knowledge in, and it is he who you will notice in many of the below photographs below.

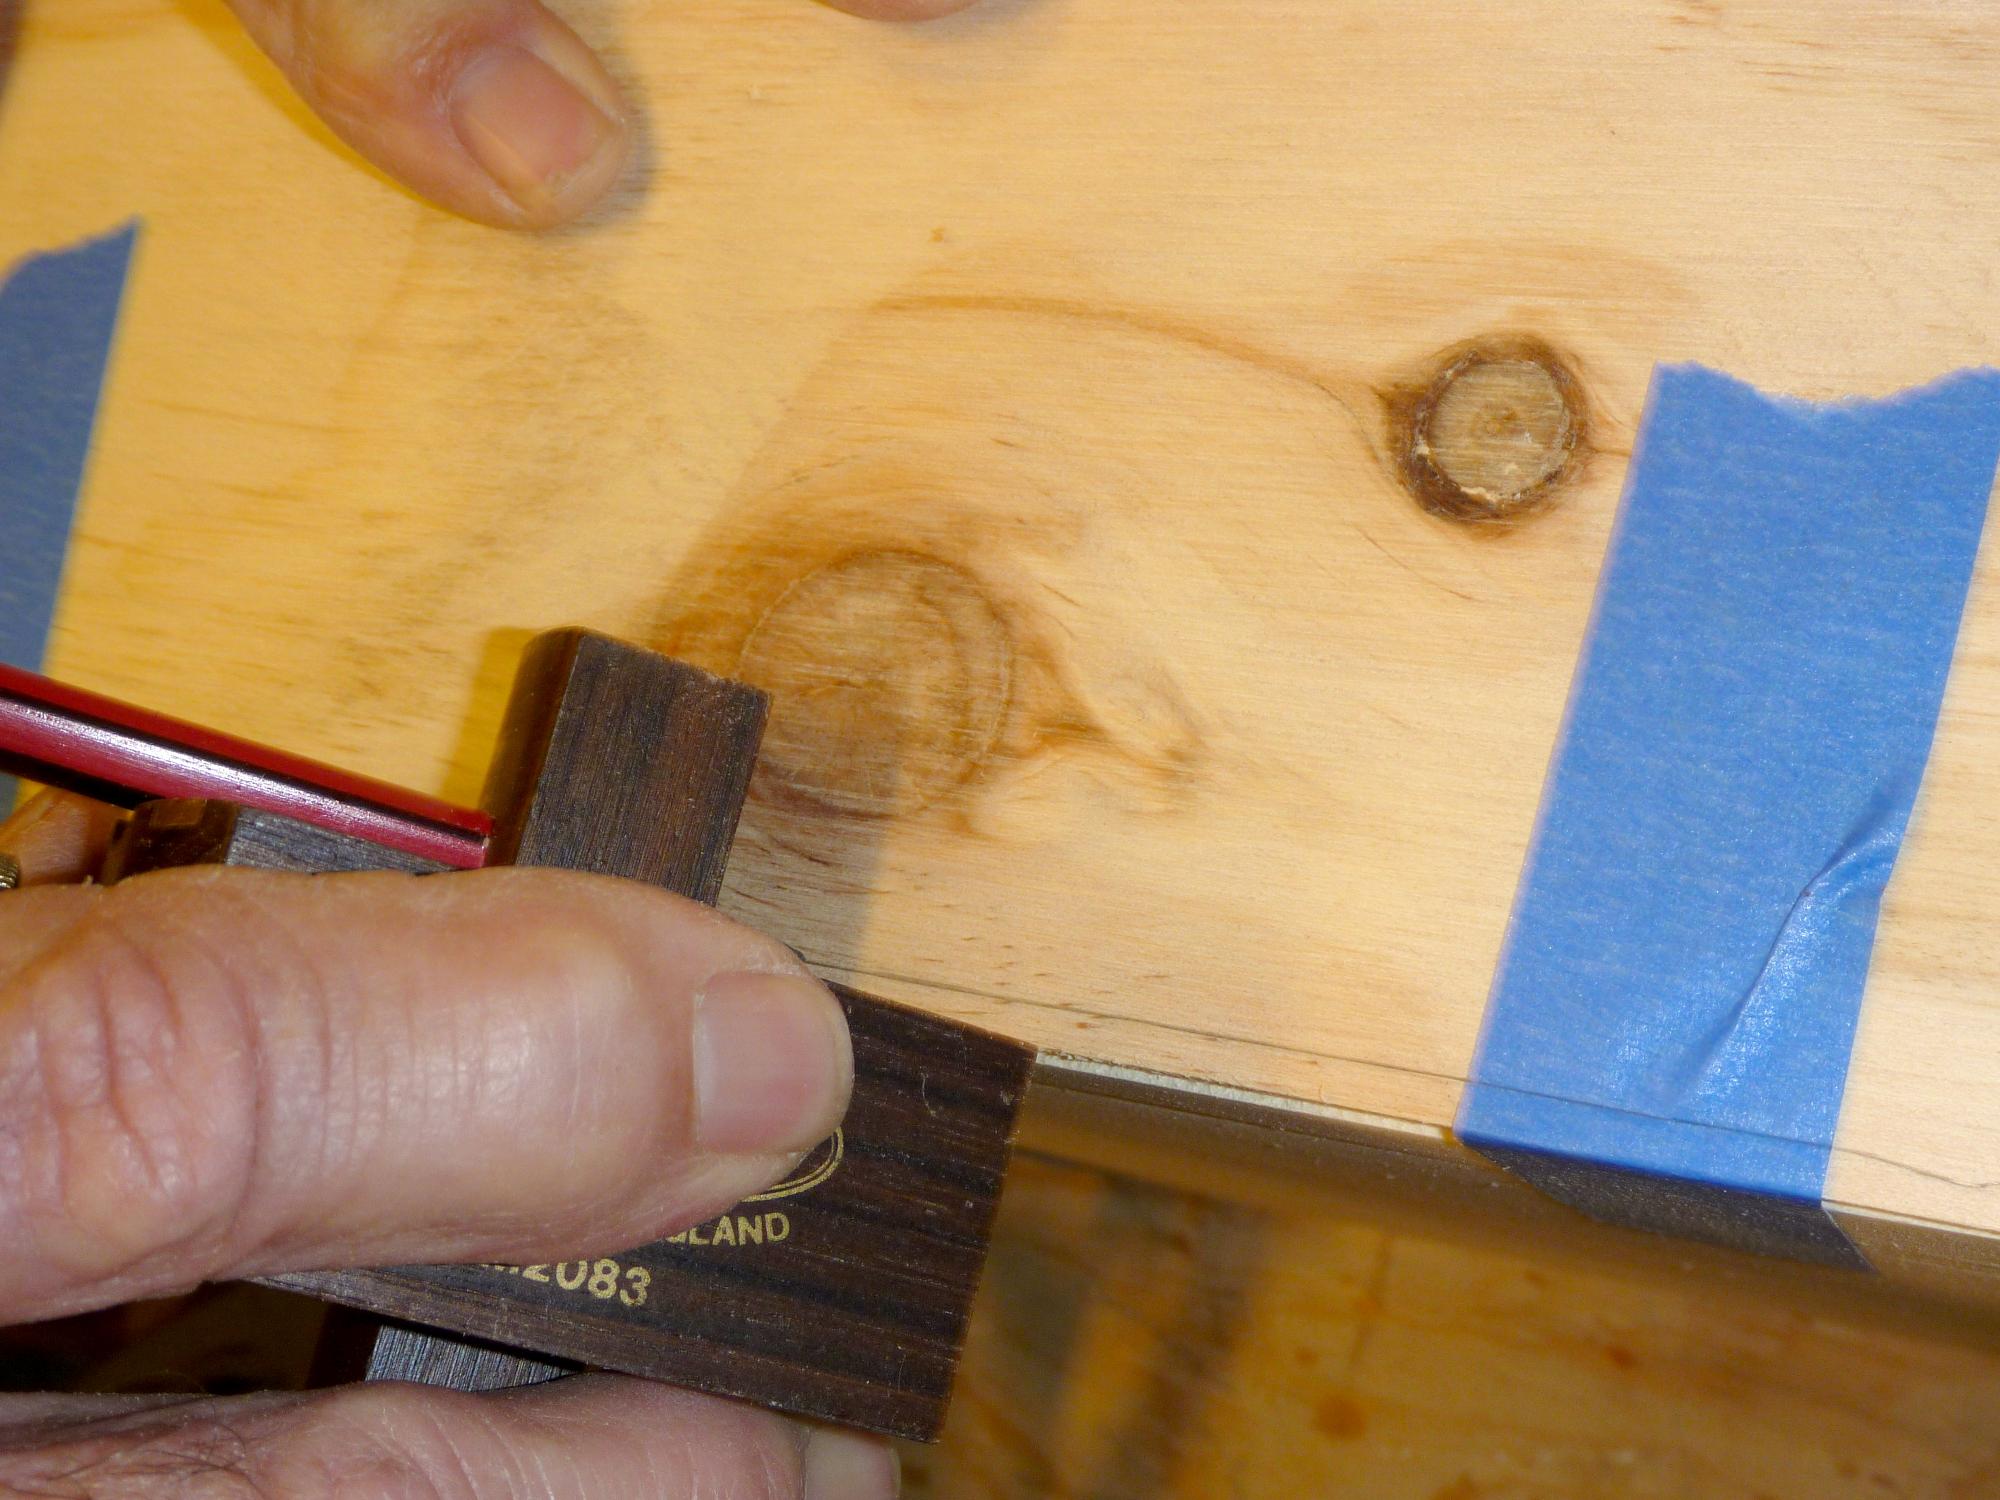
The whole idea for the project, was to create a simple wooden enclosure to house 4 cheap 3.5" SATA hard drive enclosures.  I started by cutting out the pieces, and then routing out the top and bottom panels (first image).  The two sides were then taped to the top and the bottom to keep them in place while the screw-holes were drilled. 

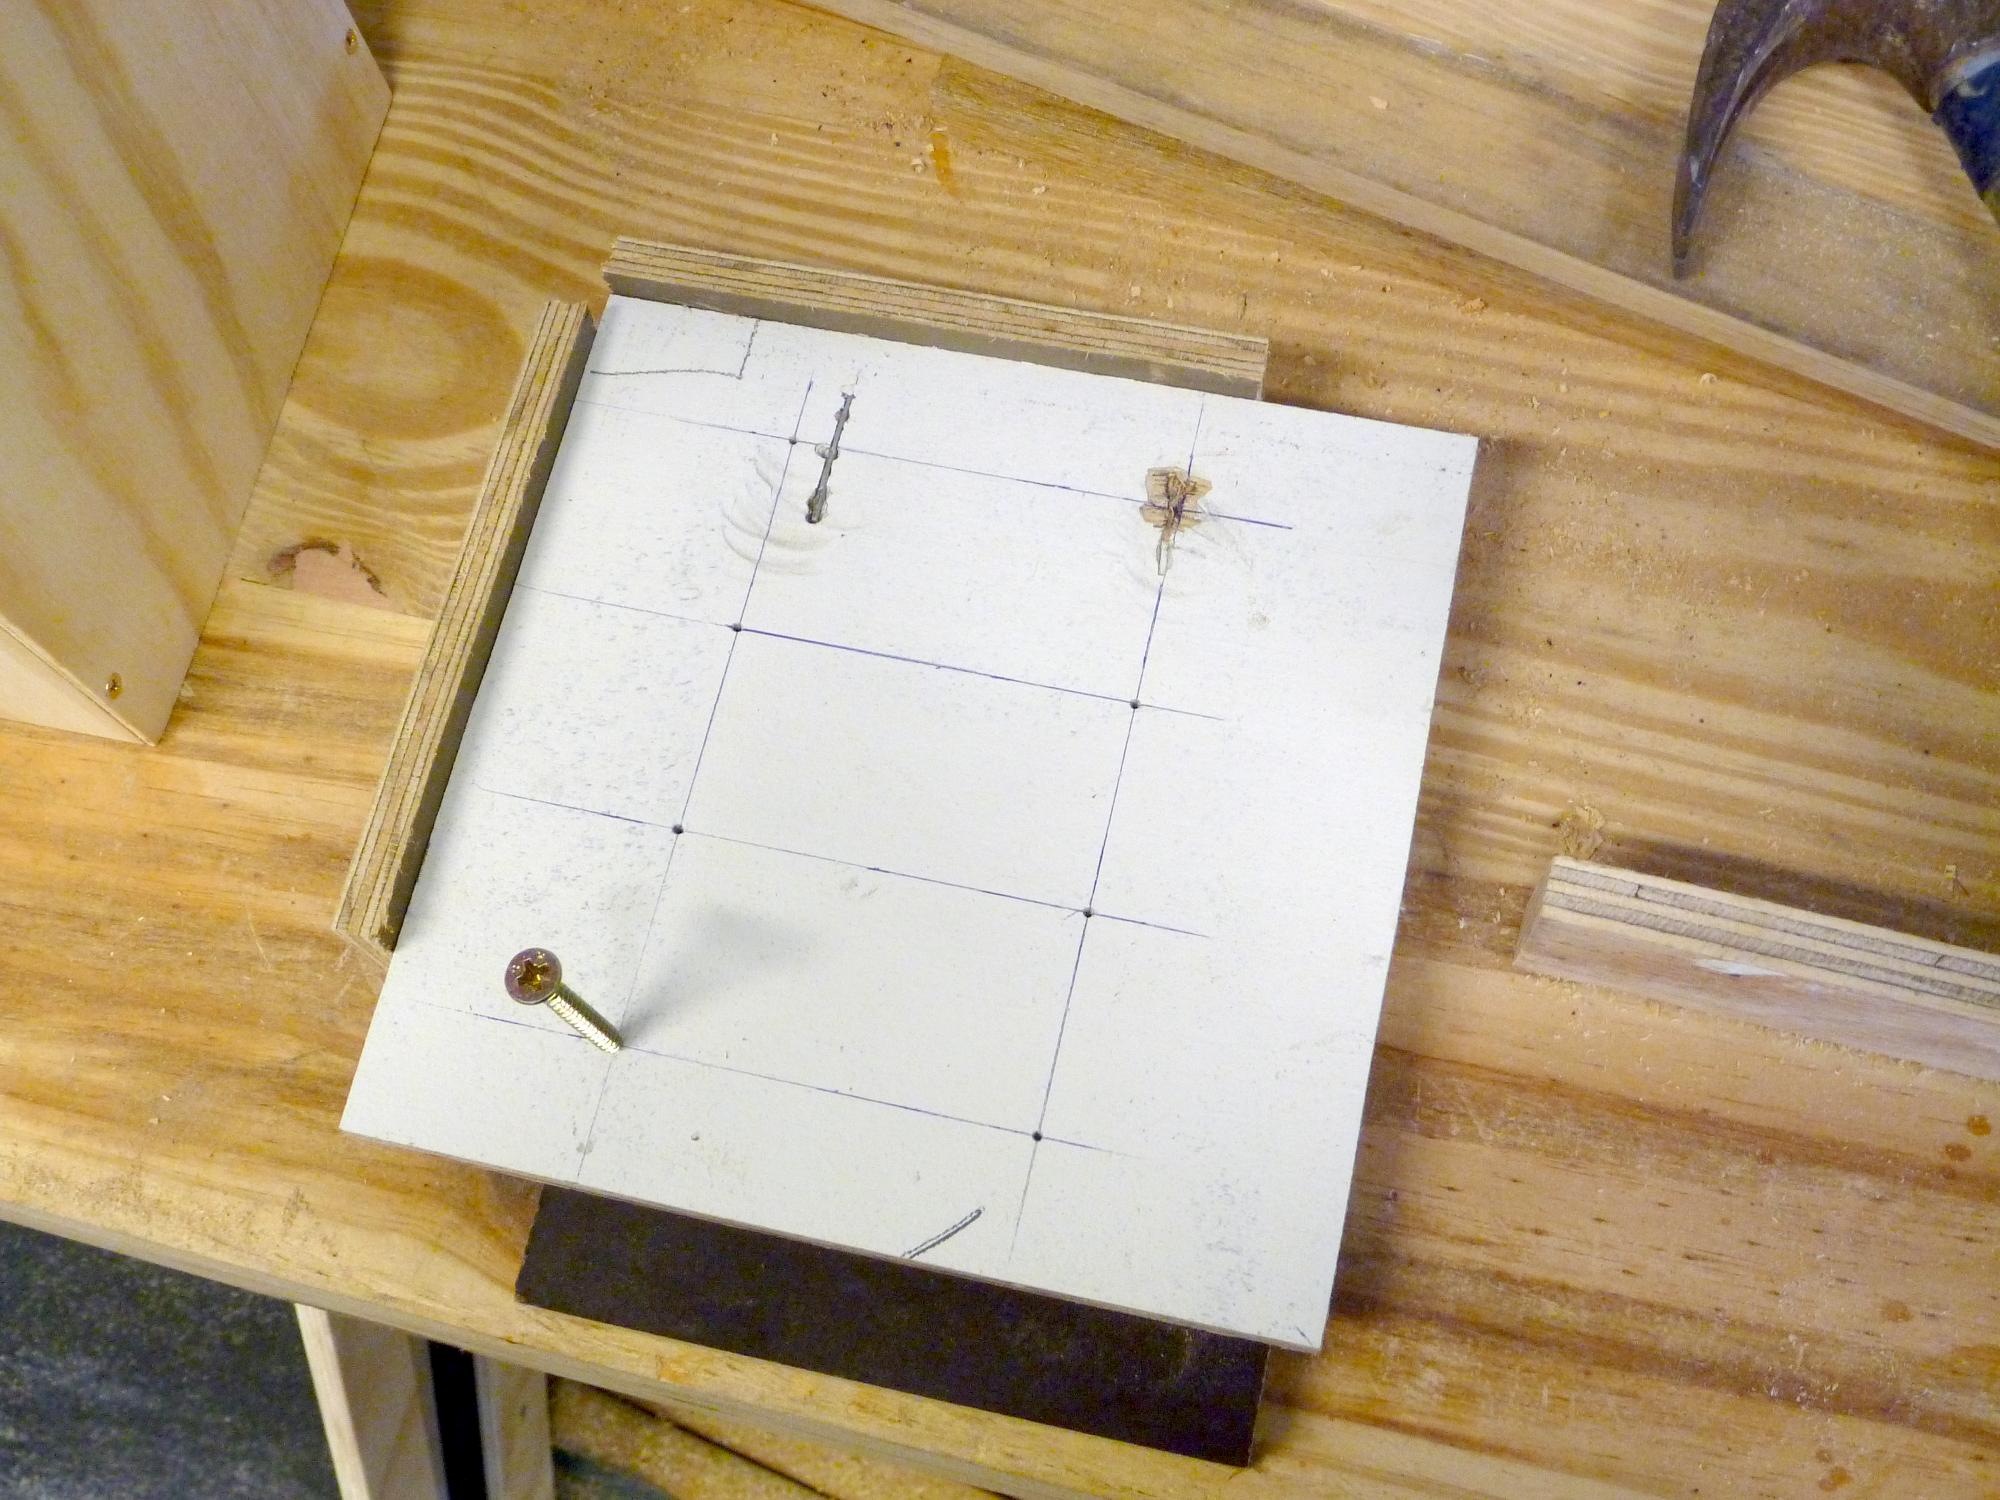
After the top, sides and bottom were attached to each other I was instructed to construct a jig which I used to perfectly align the drill-bit for the holes which were used to secure the drive enclosures.  ...Unfortunately, while the holes were drilled perfectly, I afterwards discovered that the drive enclosures themselves did not have symmetry (and -- of course -- I only measured one side of trays, didn't I), so the left-hand side (from the front) sits somewhat proud of the wooden enclosure.

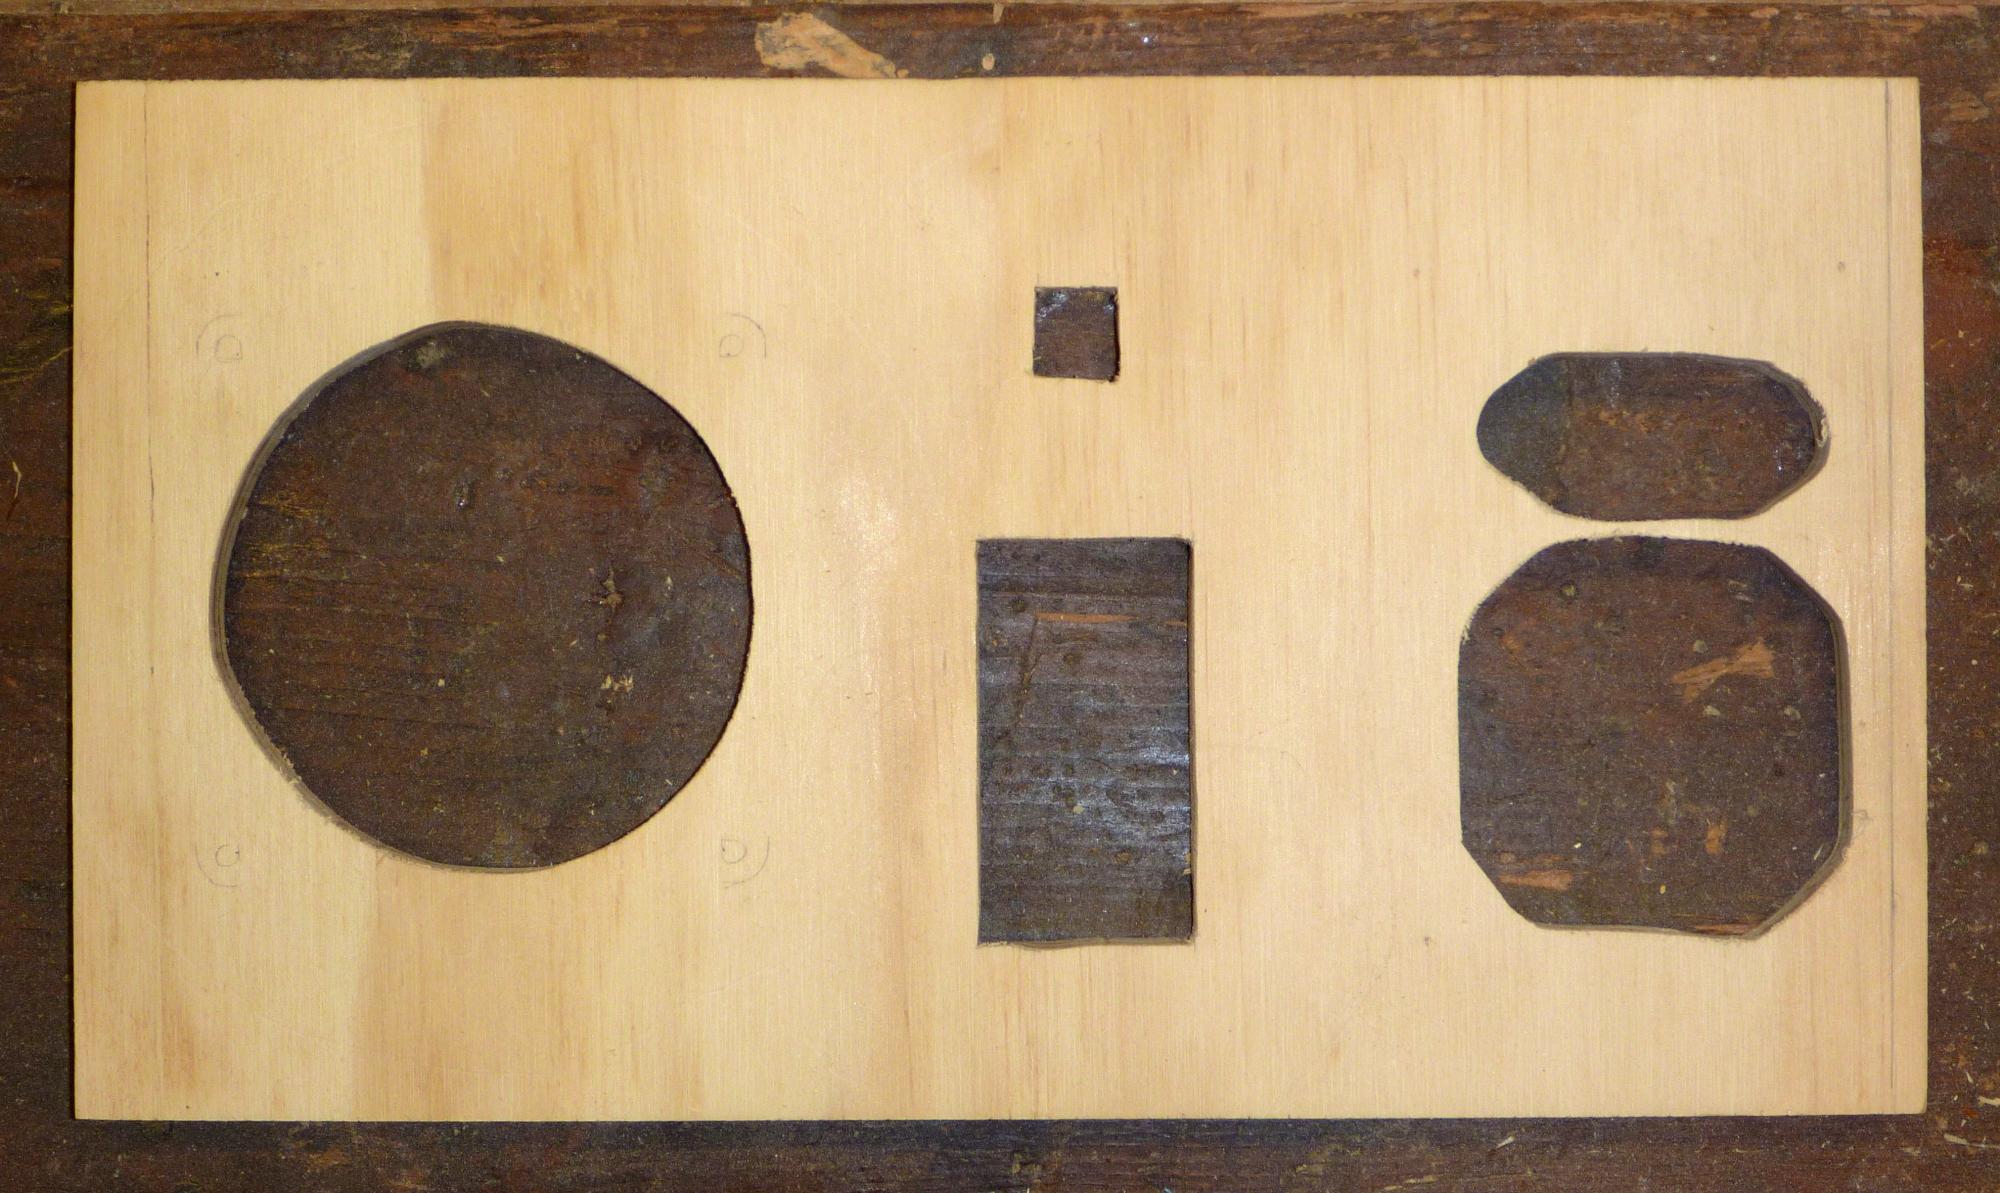
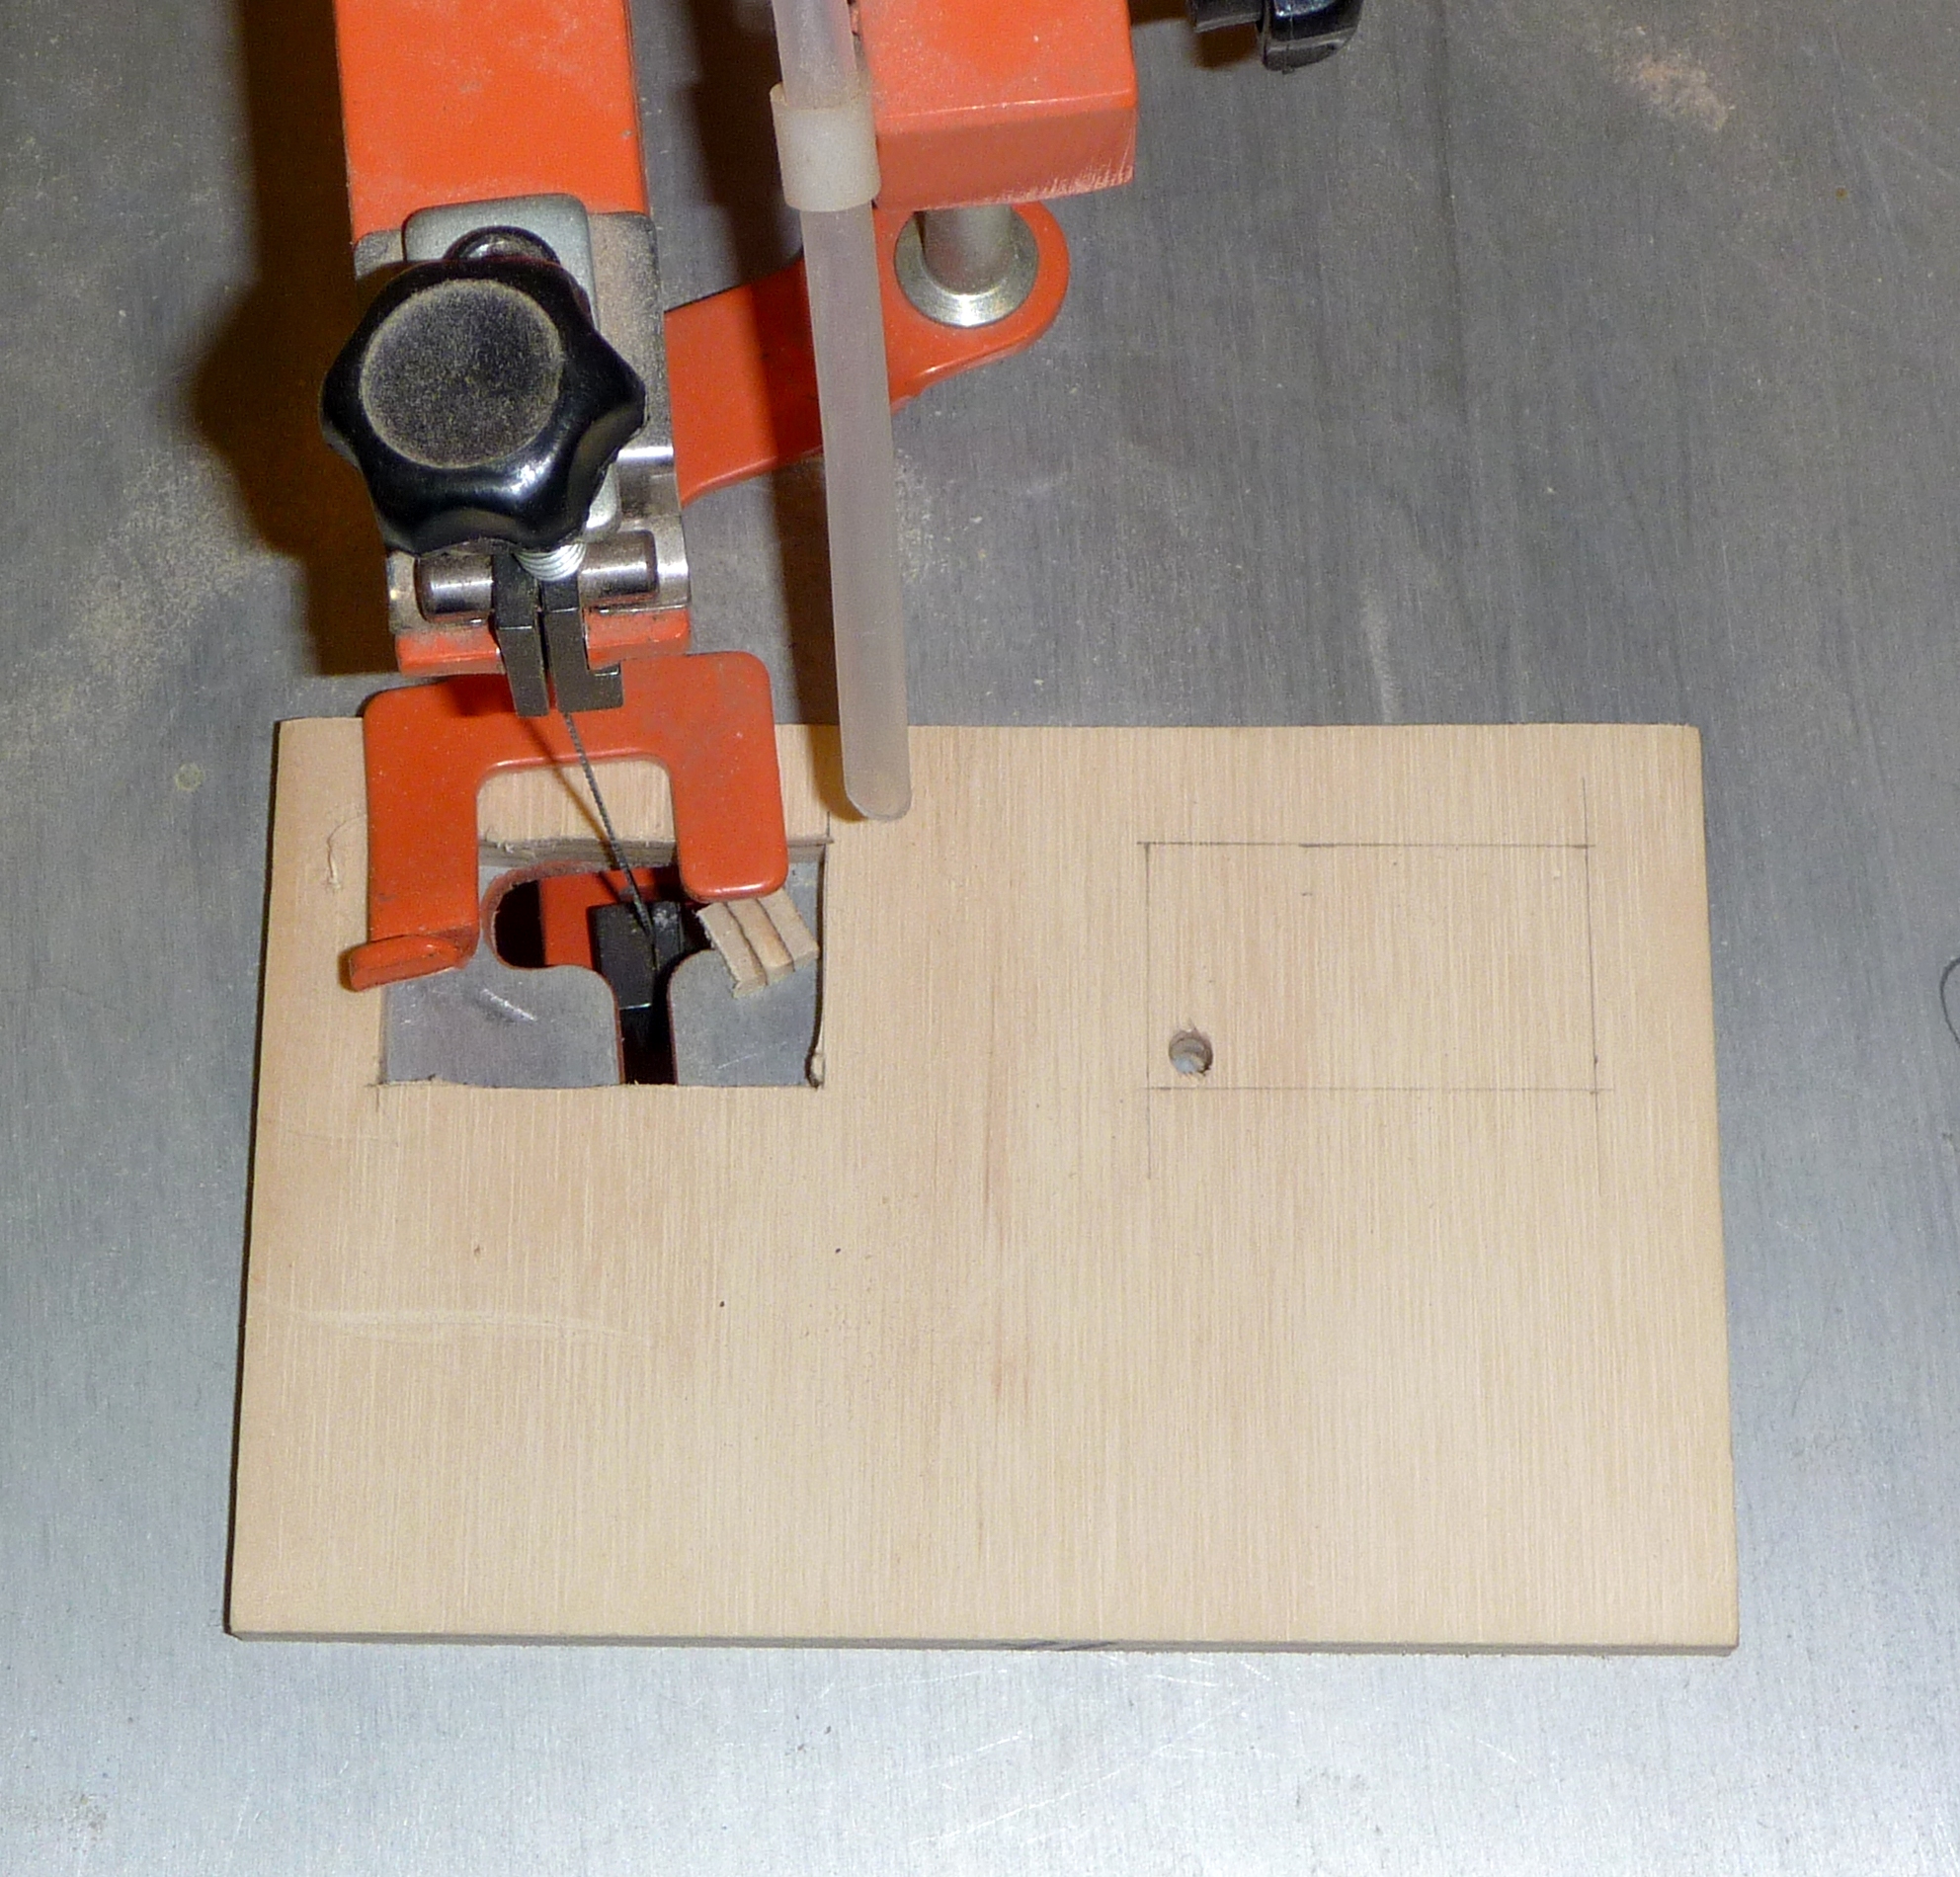
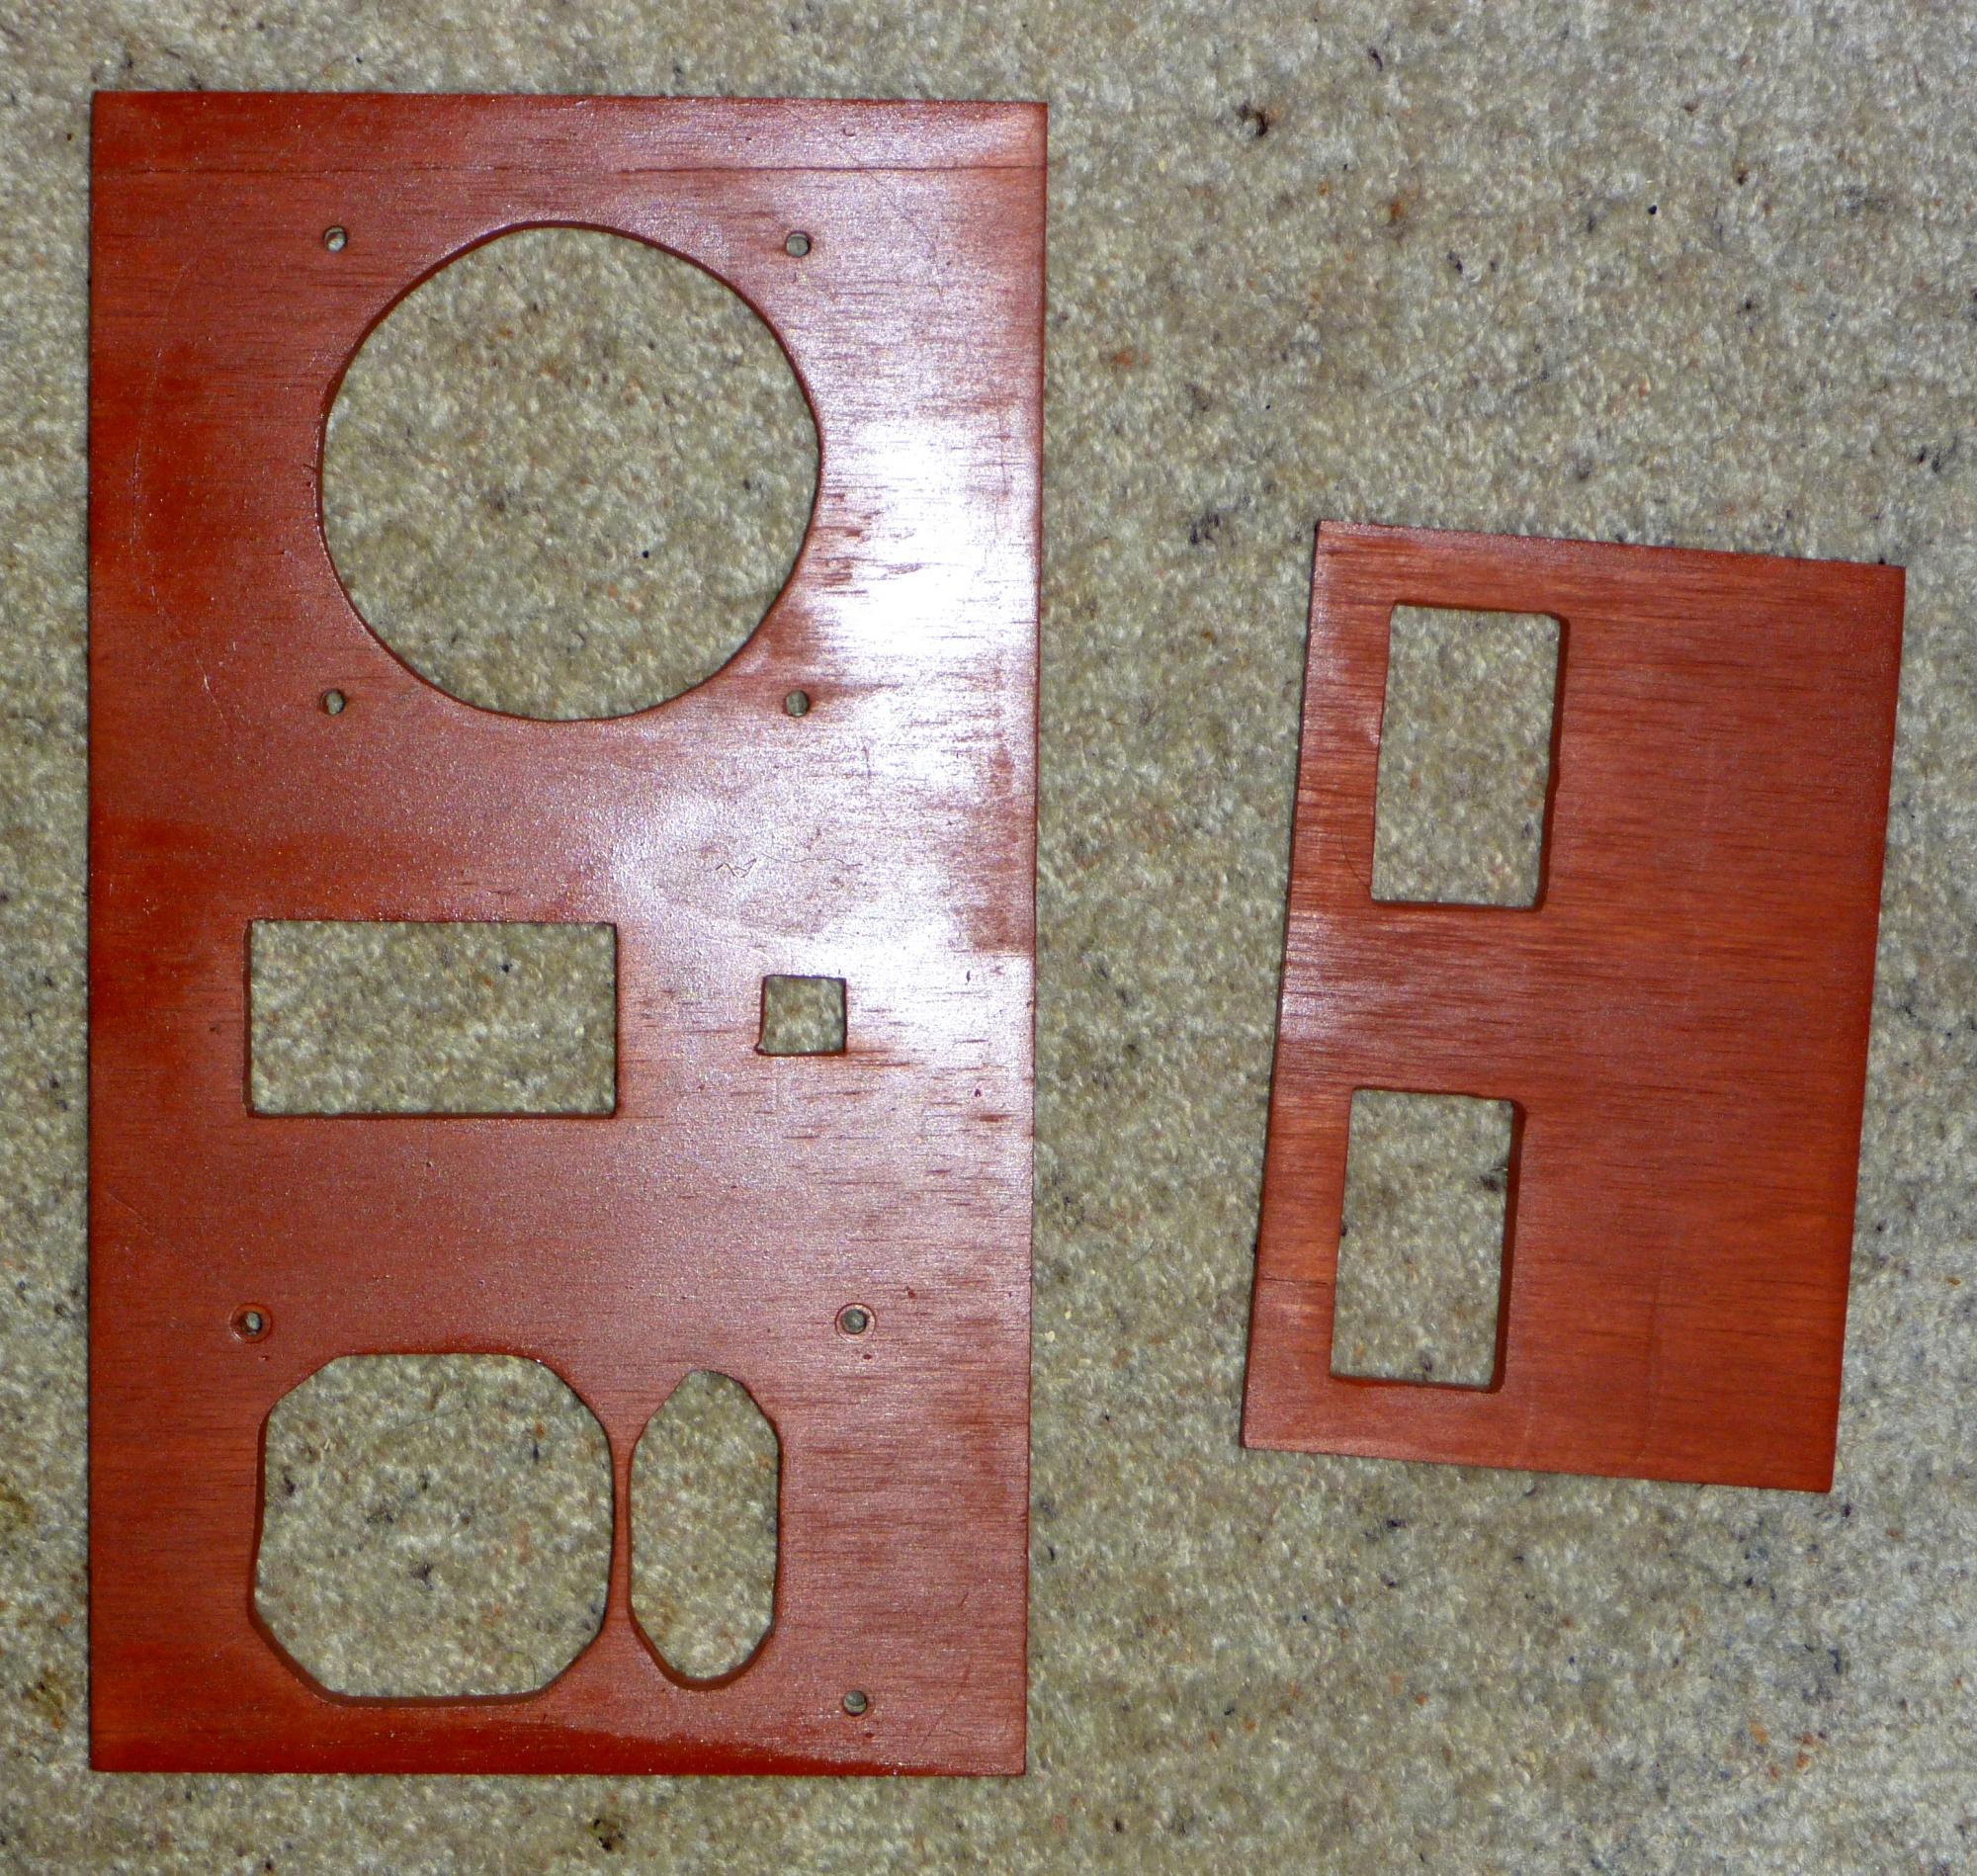
Next, I marked out and cut the holes in the front and rear panel using the scroll saw.  You can tell from the images that this is the first time I've ever used one.  I had to ask someone how to cut a sharp corner before it became obvious (you cut out a round piece in the middle, then make two cuts that meet in the corner).

The entire enclosure was then made to become this wonderful rust-red colour because I can not, apparently, tell the difference between an exterior, and an interior vanish (I had intended a nice glossy interior varnish).

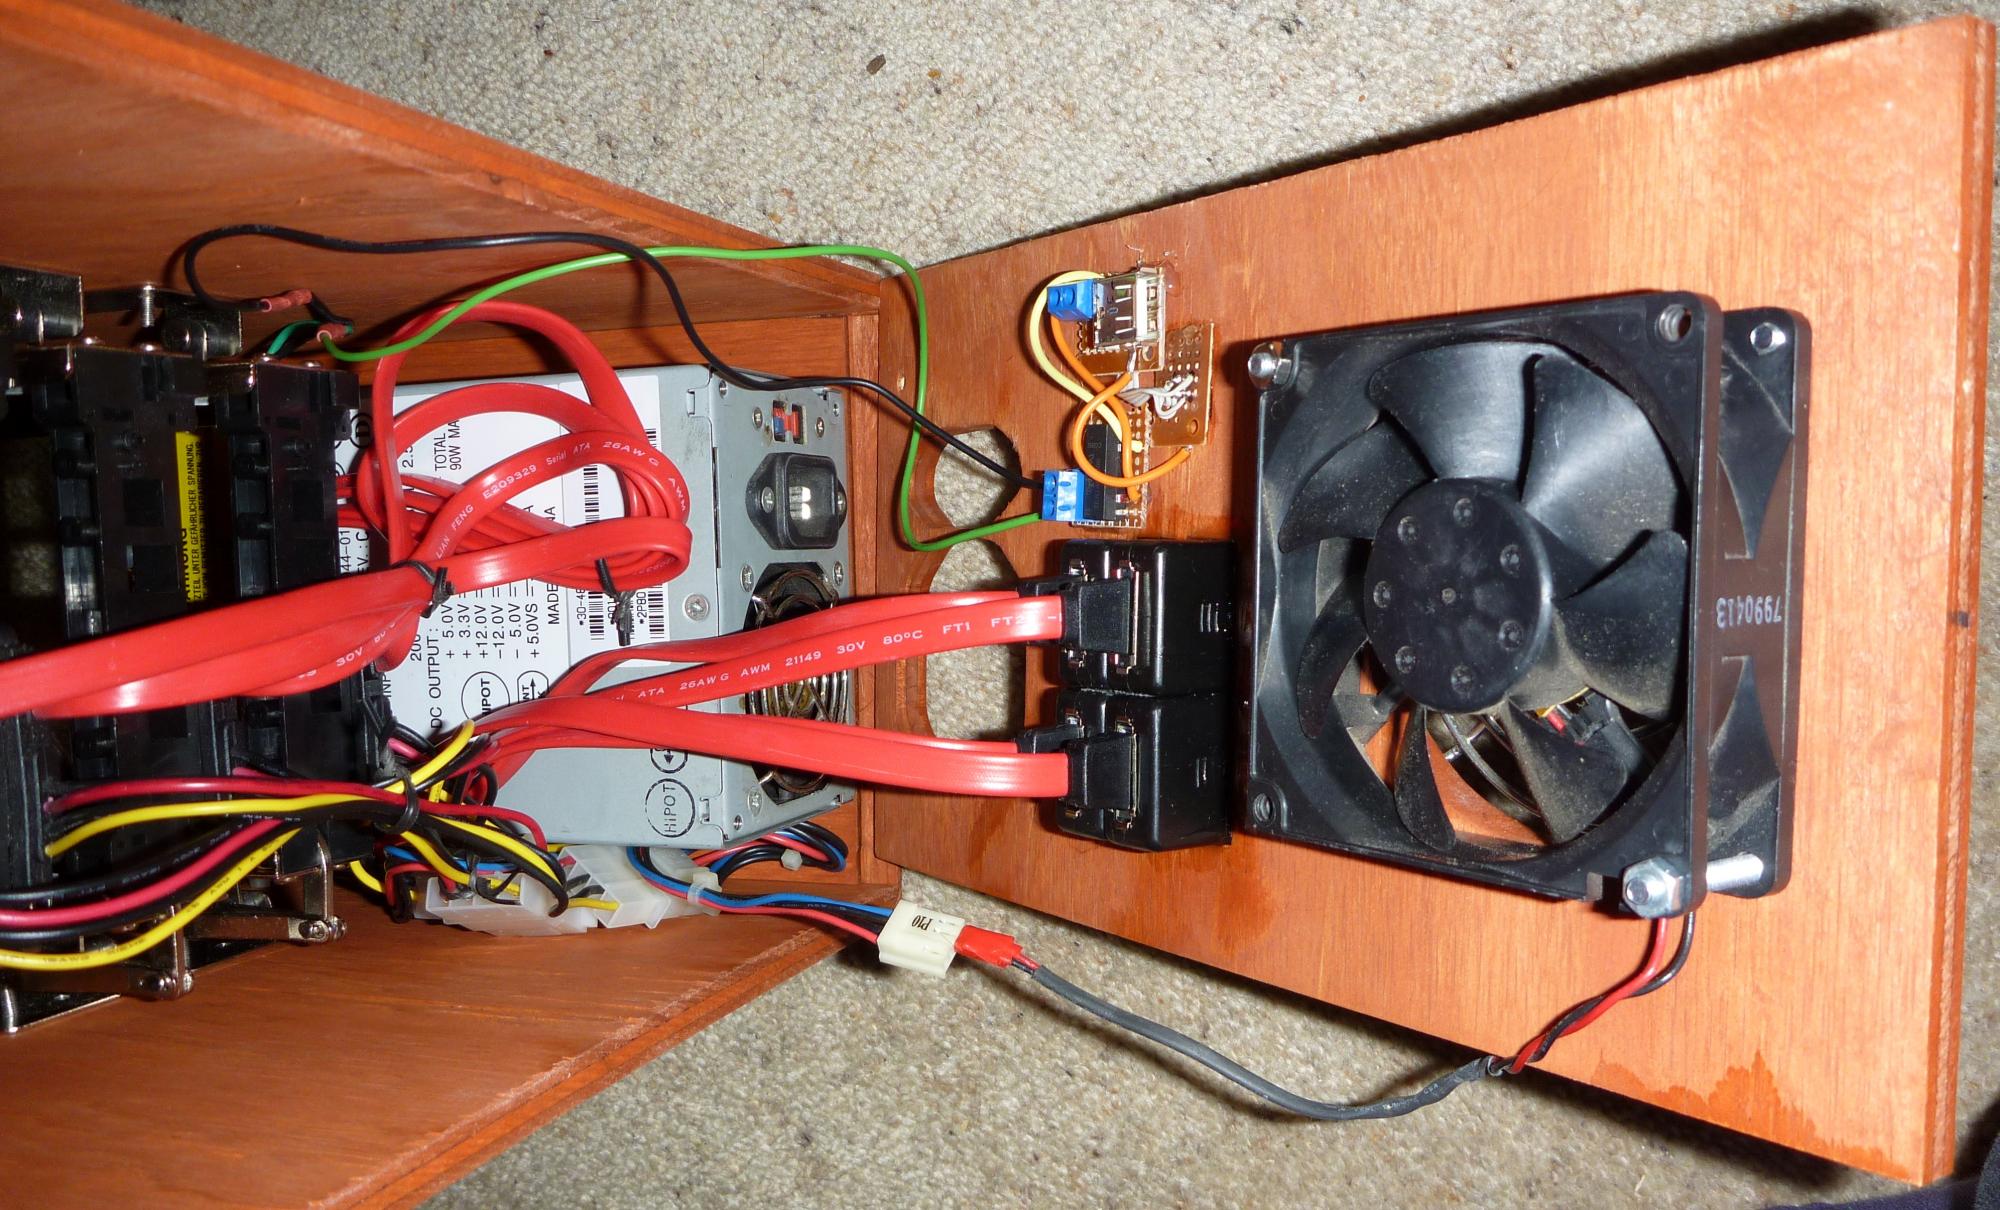
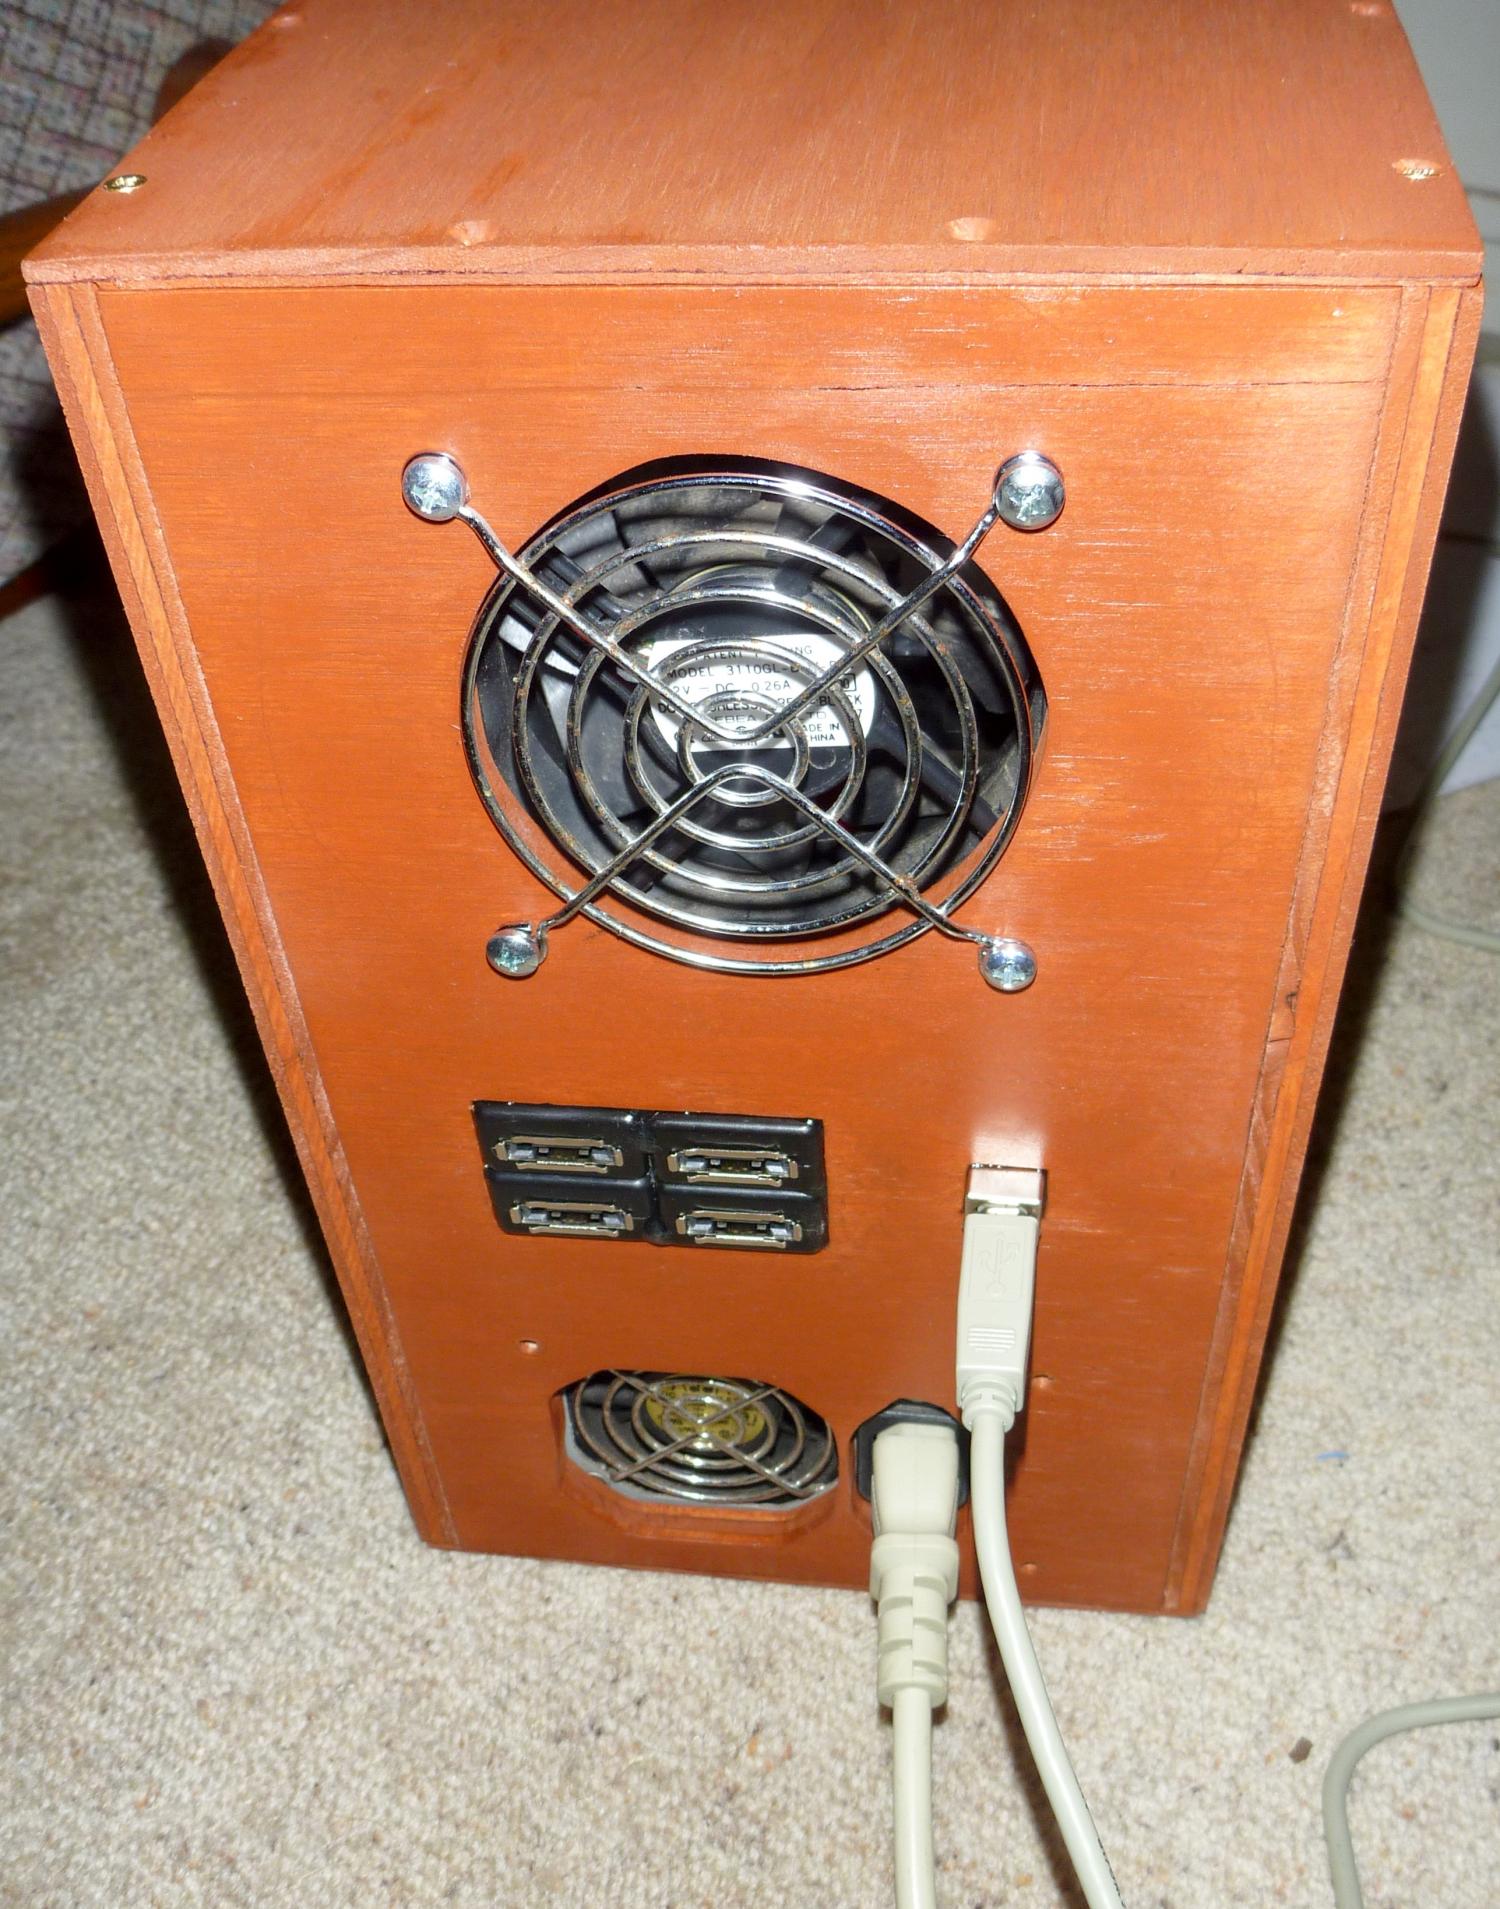
I then decided to work out what electronics I should utilise.  It ended up being quite simple; The power supply was an old DEC 200w ATX model from some old pentium II's I had hoarded.  Being a 20 pin ATX supply I simply needed to ground pin 14 (usually the green wire) to turn it on.  To do this, I rigged up a small reed-realy which would be triggered which power on the USB plug is inserted.  I also passed the pins from the USB B socket (outside) through to a USB A socket on the inside, which I later used to plug in a USB to SATA adaptor for the top hard drive.   I also attached some terminal strip to hook up the voltage meters (which, being such an old power supply, I thought a prudent thing to do).

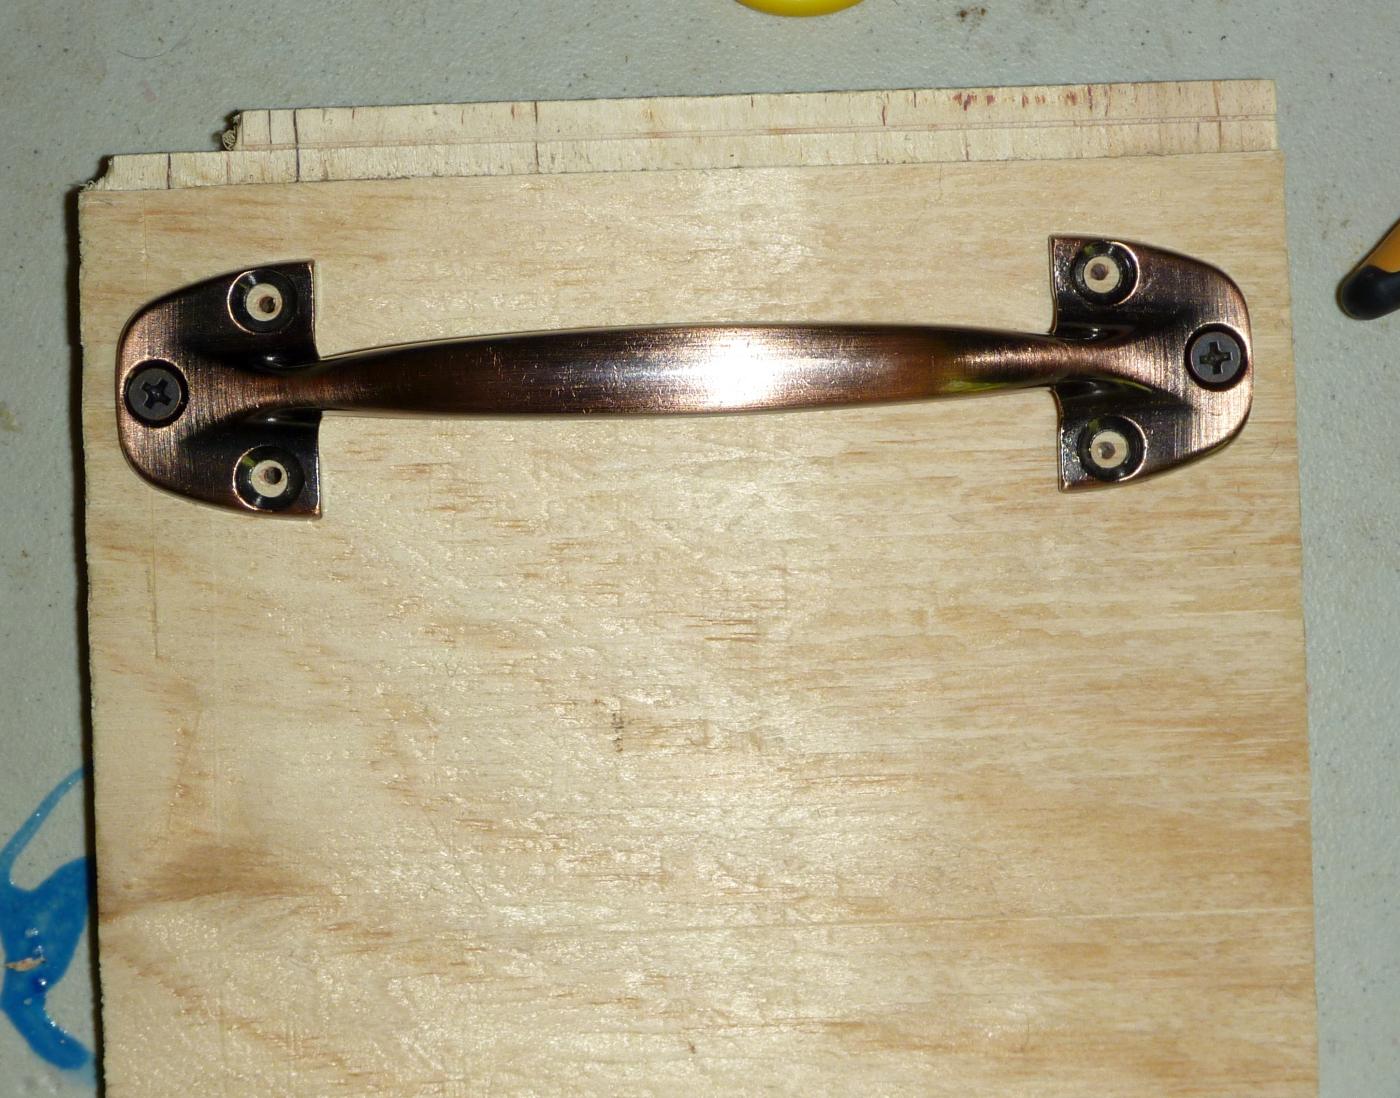
The final features I added was a small knob on the back panel which I added after Alan pointed out that I didn't really have anything to hold onto if I wanted to pull out the rear cover at a later date, and a handle on top to aid in carrying it.

I had some trouble with the top handle when I realised that didn't have enough space for the screws to come in, without causing trouble for the top hard drive when it was installed.  Fortunately (for me that is. Not the screws) I own an angle grinder!  I screwed the handle into a scrap piece of wood (which was a lot of screwing indeed.  It seemed that I had misplaced the Philips driver bit for my drill), and then ground the screws to be more-or-less flush with the wood.  I was someone surprised (and perhaps just a little disappointed) that the wood did not catch fire even once during the endeavour.

Finally, after a few odds-and-end had been sorted, I installed the front cover, voltage monitors, and that completed my new external enclosure for up to 4 hard drives.  It ended up costing about twice as much as it would have if I had just bought a cheap commercial NAS, but the result was quite satisfying, and I don't regret it.